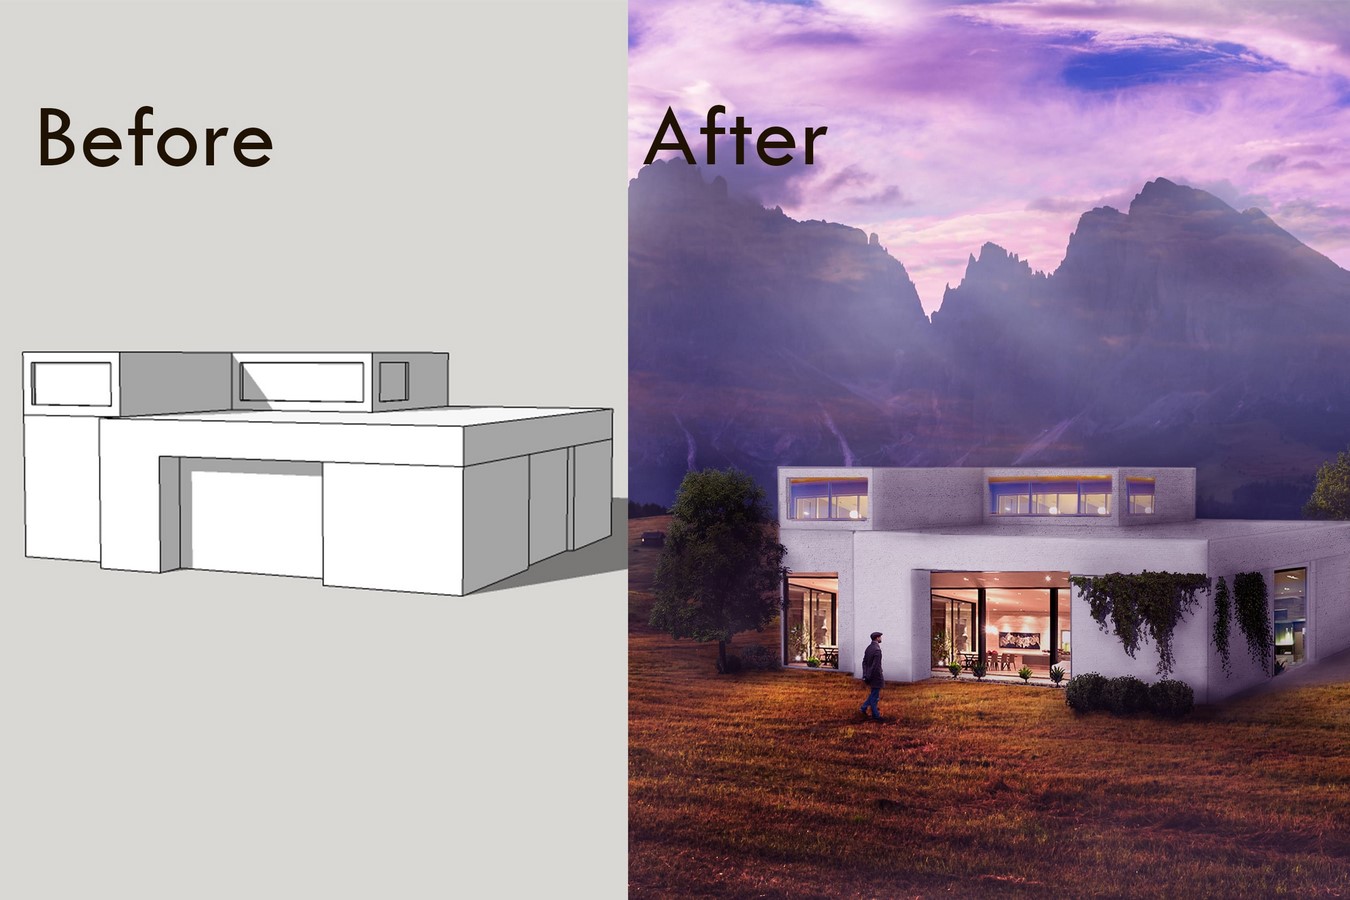
Hello everyone, after a while taking photos of the architecture and pursuing a style of shooting using natural light like the image below or the Taiwanese style that has been gaining popularity lately, I think I can think about rendering, like taking pictures and applying the following tuts to make the image depth, clear and indistinguishable from 3D or reality
1/ Use natural light as the main light source
– Use natural light as the main light source (light of balcony doors, windows,…) restricting the use of light from downlight lamps, using only some point light such as dining table lamps, lamps sleeping, standing lamps,…
– Turning on the downlight light will cause the light to be mixed from many sources, causing colors and shadows to be mixed and the image is flattened because there is no gentle transfer of brightness from the window into the deep space inside.

2/ The focal length when setting camera
+ 16-20mm focal angle, f8-11, cam height from 1m4-1m7, showing the corners covering the whole space, the high angle will show more details and things are not flat.
+ Focus angle of 24-35mm, f2.4-f8, this angle will bring a sense of closer to the eye of the eye, can be combined for a large aperture and pay attention to the foreground details such as leaves, flowers,… pictures will become more emotional.
+ Focus angle 50-85mm, f1.2-2.4, at this point we will go into details such as furniture on the table, wooden details…

A project with all the above angles will come to life and show the full design intent, the level will be 60% – 30% of angles 16-20mm, 30% – 60% of angles 24-35mm and 10% of the angle 50-85mm…
– In addition to some basic cam angles such as frontal, horizontal, diagonal, you can try the overhead angle to look at a 45 degree angle to show the overall angle of the room or some corner details of sofa tables, island tables
3/ Combine lots of space together
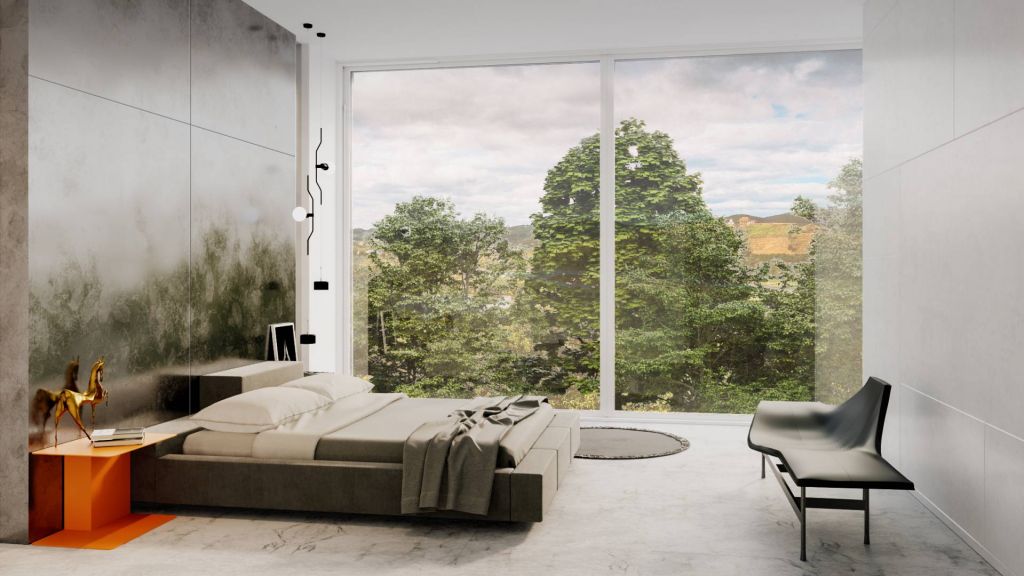
– In addition to showing a single space such as the living room, the bedroom… You can set the corner to show the connection between the spaces (the corner between the room door, the balcony door…) To show the interaction of spaces
– The materials need to be shown accurately and contribute a lot in making the image more realistic such as painted wood surfaces or concrete, suede, glossy leather, snow felt…
4/ Add some moving objects
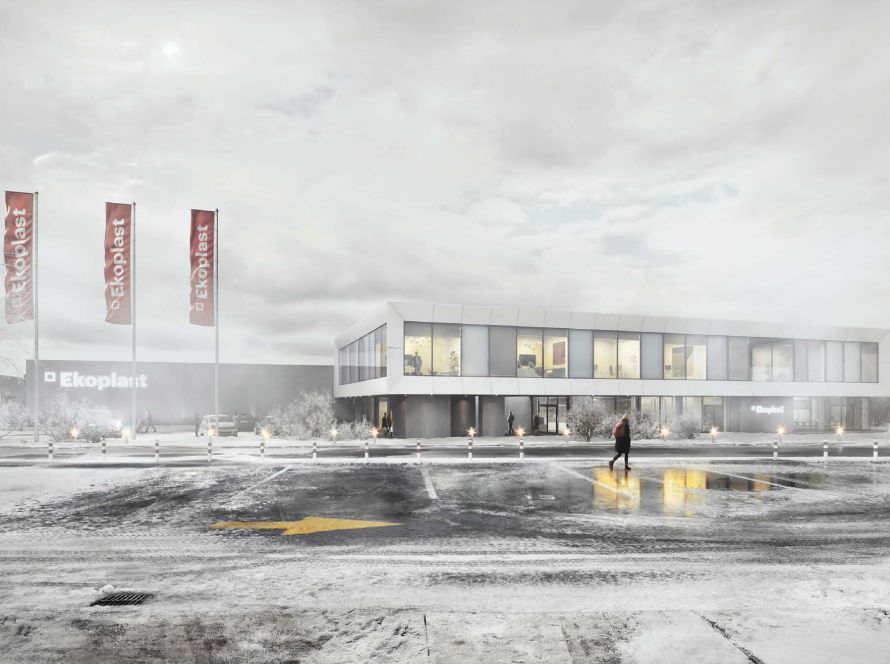
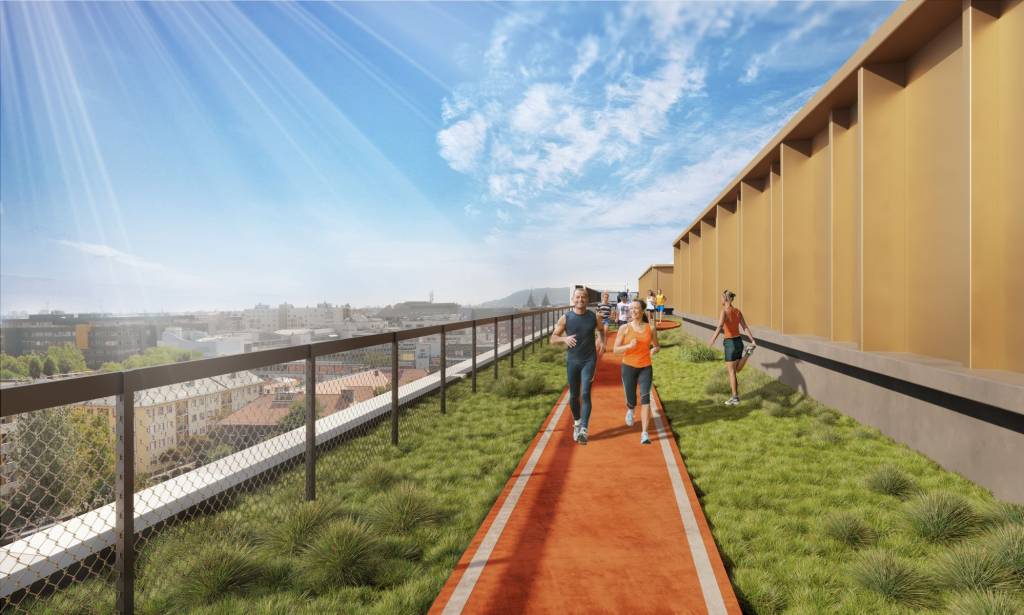
If possible, some laces add people or animals to the frame, which makes the image more vivid, be it a passing figure, a little boy playing in the children’s room or a cat or dogs sleeping on the sofa or a shadow looming behind the chiffon…
5/ Minimize the decor objects
– Think in a minimalistic way from the image layout to the decor, using only some beautiful decor in a modern style and arranging like having a real user: the book can be left standing randomly, the picture is a bit away from the wall, the sofa blanket is gently dropped on the sofa, objects do not need to be against the wall and close to each other, so there is a bit of intentional clutter.
– Use a few models but as good as the house wants to be beautiful, the furniture must be genuine and finely constructed, erect the wooden furniture as the way it was constructed, just understand the design and render better
6/ Use Photoshop technique to handle areas of Contrast
– The scene is too much light or need to take the details out of the balcony, a render usually will not be enough, render two photos: one to get the right light in the house, one to properly light the outside, then go to the PS mask area to retain… thinking after rendering we can get the image as raw image when taking a photo, continue editing with PS or Lightroom to make the picture even better.