Rendering is an essential step in the design process. It’s the process of creating a three-dimensional image of a room, structure, or object. With the right tools, rendering can be easy and straightforward. In this article, we will introduce you to interior rendering sketchup—a free and easy tool that can help you create accurate renderings of your projects. By following along with our guide, you’ll be on your way to creating stunning renderings in no time!
What is Interior Rendering?
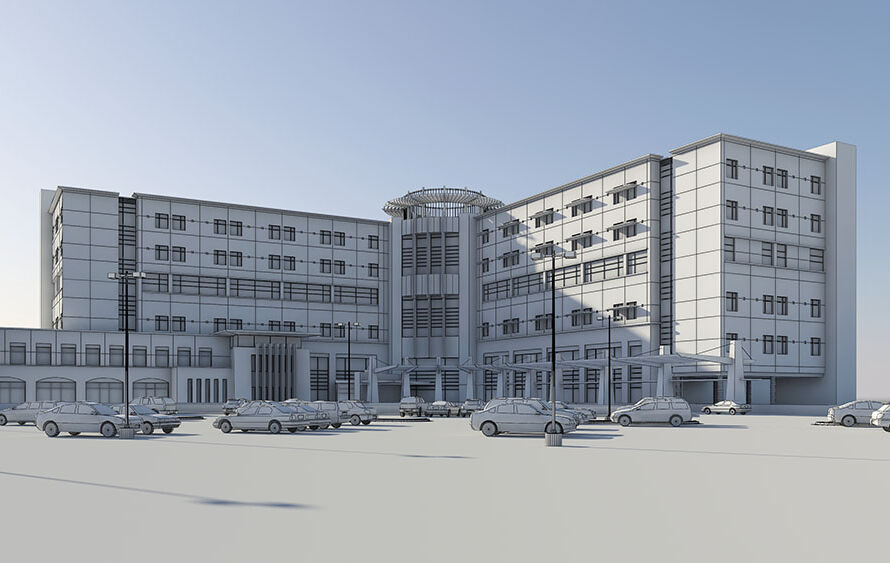
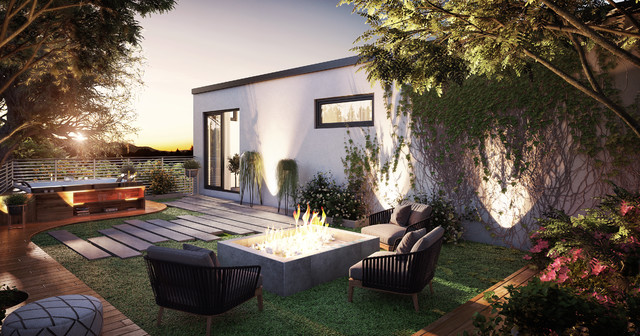
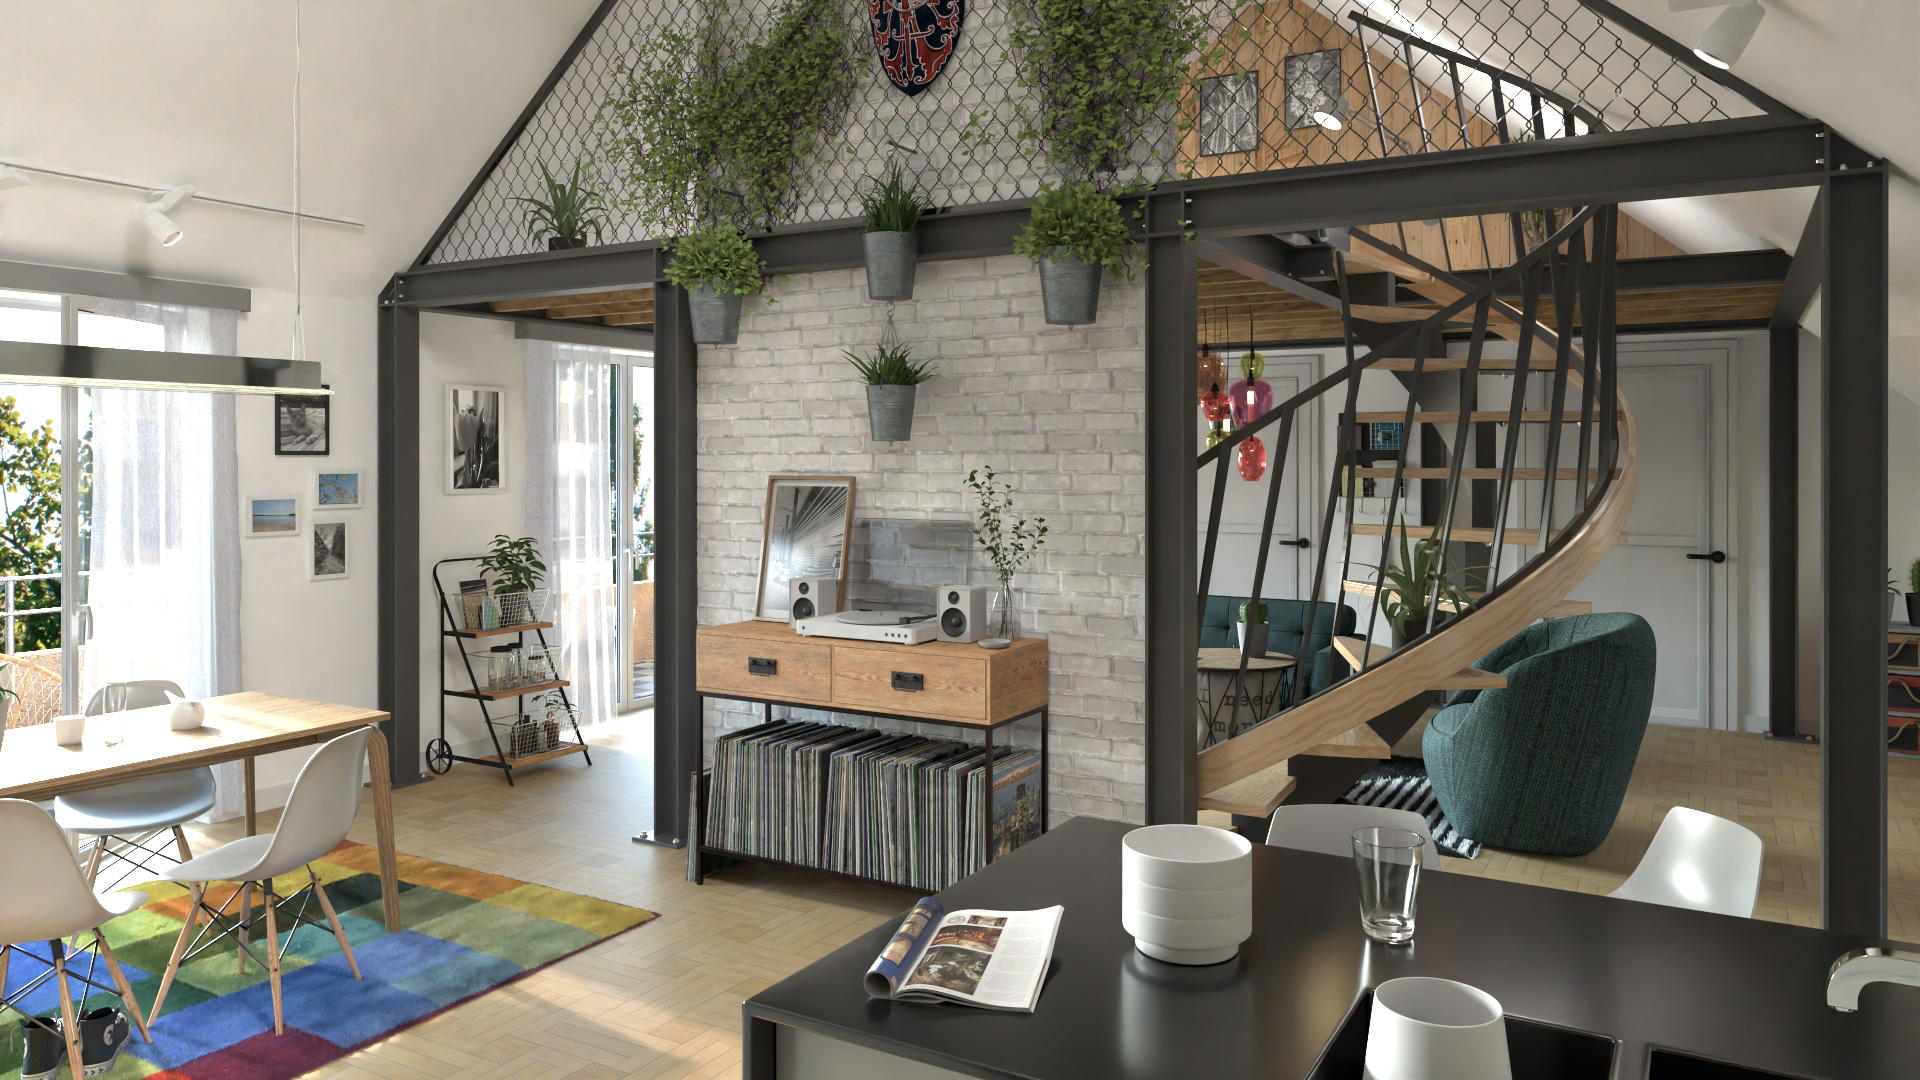
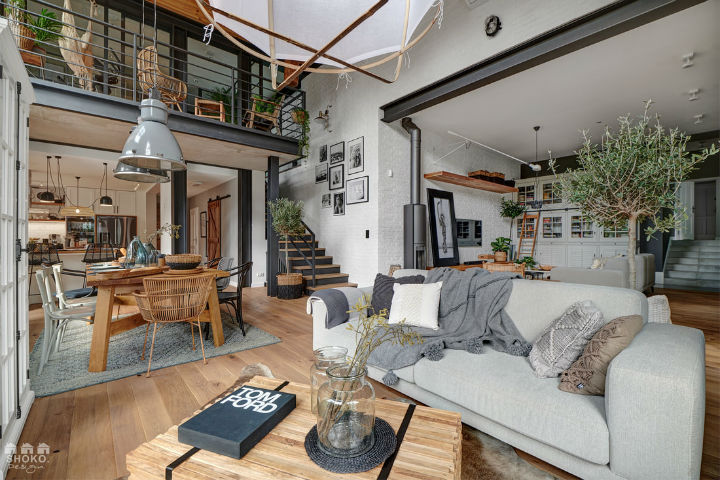
Interior rendering is the process of creating a realistic image of an interior space or structure. It can be used to create a virtual walk-through of a building, model architectural features, or create illustrations for promotional materials.
The three most common rendering engines used in interior design are ray tracing, global illumination, and Monte Carlo methods. Ray tracing is the most accurate and time-consuming method, but it generates the most detailed images. Global illumination uses many light sources to simulate the effect of natural sunlight streaming into a room, while Monte Carlo methods use random steps to generate images that look more realistic. Each has its own advantages and disadvantages, so it’s important to choose the right one for the project
How to use SketchUp for Interior Rendering?
In this tutorial, we will show you how to use SketchUp for interior rendering. SketchUp is a software that allows users to create detailed 3D models of structures and environments. This software can be used for a variety of purposes such as creating models of buildings, designing furniture, and rendering illustrations.
To begin, open SketchUp and click on the File menu. Select New > Folder…. In the folder that appears, create a new file by selecting File > New > Scene…. Enter the name “Interior” in the Name field and click OK.
Once the file has been created, click on the Lights button located in the toolbar at the top of the screen. This will bring up the light panel. To add a light to your scene, first select an object in your scene that you want to cast light upon (in our case, we’ll select the door). Next, select Object > Lighting > Basic from the drop-down menu located beneath the Light panel.
In order to adjust how light behaves within your scene, you will need to set up your environment accordingly. To do this, first select Window > Open Perspective View…. Once opened, right-click on any object in your scene and select Set Background Color…..
Next, right-click on any surface or texture inside your room and select Set Wallpaper….. Finally, drag any object or texture onto one of the walls to give it a realistic look.
Now that we have set up our scene, we can start rendering it. To do this, select File > Render…. In the Render dialog box, set the following properties:
- Scene: Interior
- Render Settings: Quality: Best
- View: Standard Camera
Click on the OK button to begin rendering. Once the render has completed, you will be able to view the results in your default browser.
If you want to export your scene into a file that can be used in other applications, such as Adobe Photoshop or Maya, you will need to use the Export button located in the Render dialog box. To do this, select File > Export…. In the Export dialog box, select the format that you want to use (3D PDF, DWG, etc.), and click on the OK button.
Tips for Creating a Perfect Interior Rendering SketchUp File
- SketchUp is a great tool for creating accurate 3D renderings of interiors.
- Start by drawing your floor plan and furniture layout in SketchUp.
- Use the light and shadow tools to create realistic shadows and highlights in your scene.
- Use the camera tool to create detailed renderings of individual rooms, walls, and objects within your scene.
- Add finishing touches to your rendering with color schemes, lighting effects, and textures.
- Share your rendering with friends and family to get feedback and improve your work.

Conclusion
Thank you for reading this article on interior rendering in SketchUp. In it, we will provide an introduction to the software and show you how to create a basic rendering of a room using the default settings. After that, we’ll walk you through some adjustments and enhancements you can make to your rendering so that you get the most accurate results possible. If you’re new to SketchUp or are looking for ways to improve your renderings, I hope this article has been helpful. Be sure to check out more articles on our blog!