Elevation rendering is a great way to visualize a project before it even begins. By creating a 3D model of your project, you can see all the potential problems and solutions before you invest any time or money into it. In this blog post, we’ll introduce you to elevation rendering and review some of the best tools available on the market. By the end, you’ll have everything you need to start using elevation rendering in your projects!
What is elevation rendering?
Elevation rendering is a process of creating a realistic three-dimensional representation of the terrain by adding height to 2D images or models. The higher regions in the image or model are rendered in more detail than the lower regions, which gives the appearance of mountains, hills, and other elevation features. Elevation rendering can be used on static images or animations to create a lifelike 3D environment.
The main benefits of using elevation rendering are that it can create a more realistic environment and it can be used to create scenes with accurate elevation changes across large areas. It is also an efficient method for creating high-resolution textures, as only a small amount of data is required for each pixel in high resolution textures.

How elevation rendering works?
Elevation rendering is a process that simulates the appearance of a scene from different elevations, or “viewpoints”. This can be useful when creating 3D models or animations that show scenes from different perspectives.
To create an elevation render, you first need to create a mesh of the scene. This can be done using any number of methods, including but not limited to traditional modeling software or 3D printing. Next, you need to determine which views you want to render. This can be done by choosing points in your mesh that represent different viewpoints, or by plotting data points representing specific elevations in your scene. After determining which views you want to render, you need to calculate the elevation of each viewpoint. To do this, you use a coordinate system that corresponds to your mesh and calculates the elevation based on its latitude and longitude coordinates. Finally, you render each viewpoint according to its corresponding elevation.
Elevation rendering can be a complex process, and there are a number of different software tools available to help you with it. If you’re looking to create your own elevation renders, there are a number of resources available online, including tutorial videos from places like Unity3D and Unreal Engine.
Benefits of elevation rendering
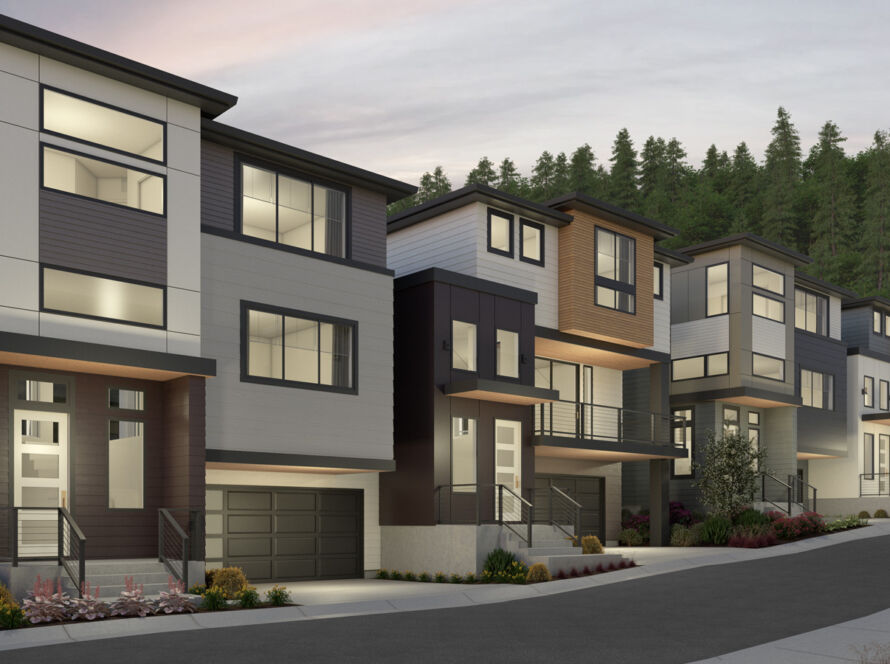
Since the 1990s, computer graphics have been used to create images of reality that are more realistic. This has led to a growing field of study called elevation rendering. Elevation rendering is a process of creating images of landscapes and buildings from a high enough perspective so that the illusion of height is created.
Elevation rendering can create a more realistic image by simulating how light behaves on different parts of an object. By knowing the height, direction, and type of light being reflected off an object, elevation rendered images can be created that look like they were actually photographed from a specific vantage point.
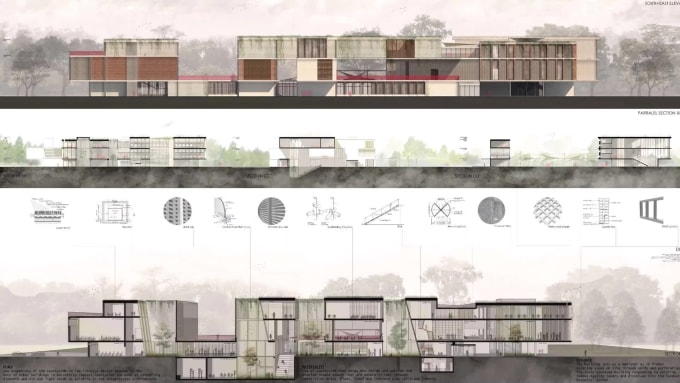
One important benefit of using elevation renderings is that they can be used as reference material for 3D printing or CAD software. This means that architects, engineers, and other professionals can use this type of imagery to make better decisions when designing buildings or landscapes.
How to do elevation rendering?
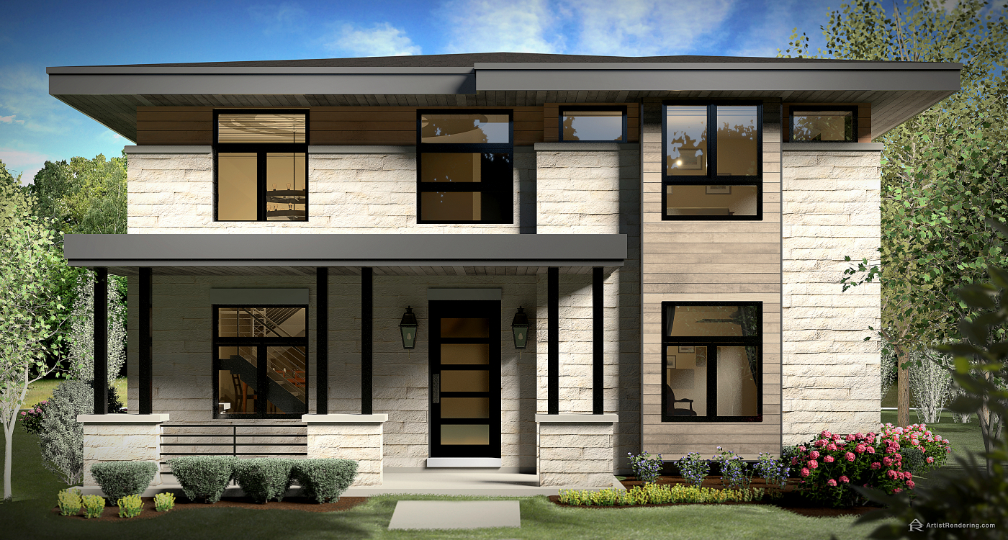
Elevation rendering is a process that creates a virtual 3D model of the terrain, including the elevation changes in between objects. With this data, you can create realistic 3D renderings that show the viewers what the scene would look like from any particular viewpoint.
There are several different software programs available for elevation rendering, but most users prefer to use 3DStudio Max or Maya. Both programs offer comprehensive capabilities and are very user-friendly. Once you have created your model, you will need to export it as an STL file so that you can use it in your renderings.
To start elevation rendering, you will first need to create your model. You can use any software program to create a 3D model, but the most common methods are using 3DStudio Max or Maya. Once you have created your model, you will need to export it as an STL file so that you can use it in your renderings.
There are several different methods for exporting an STL file from your software program:
- You can export an STL file directly from your software program by clicking on the “Export” button and selecting “STL”.
- You can also export an STL file by saving your model as a .dae file and then exporting that file.
- You can also export an STL file by exporting your model as a .obj file and then importing that file into a third-party STL exporter such as Meshlab or Netfabb.

Conclusion
If you are looking to improve your renderings and have a little extra time on your hands, then elevation rendering is the perfect solution. This tutorial will introduce you to the basics of elevation rendering and show you some great examples of how it can be used in 3D design. By the end of this tutorial, you should have a better understanding of what elevation rendering is and what benefits it offers. If you’re ready to start improving your renderings like a pro, then read on!