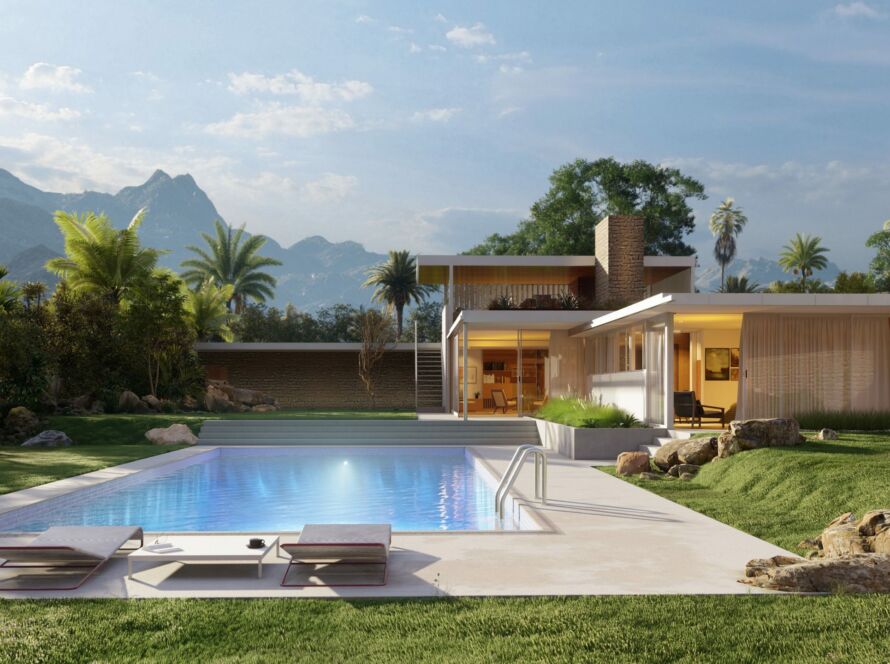
Designing interiors is a tricky business. There are so many elements to consider, from the furniture to the layout to the color scheme. And if you’re not careful, it’s easy to end up with a space that looks like it was put together by a blindfolded monkey. But there’s one tool that can help you avoid that fate: SketchUp. SketchUp is a 3D modeling program that allows you to create detailed models of just about anything, including interiors. And best of all, it’s easy to use. In this post, we’ll show you how to use SketchUp for interior design renderings, so you can create spaces that look as good in real life as they do in your imagination.
What is Sketchup?
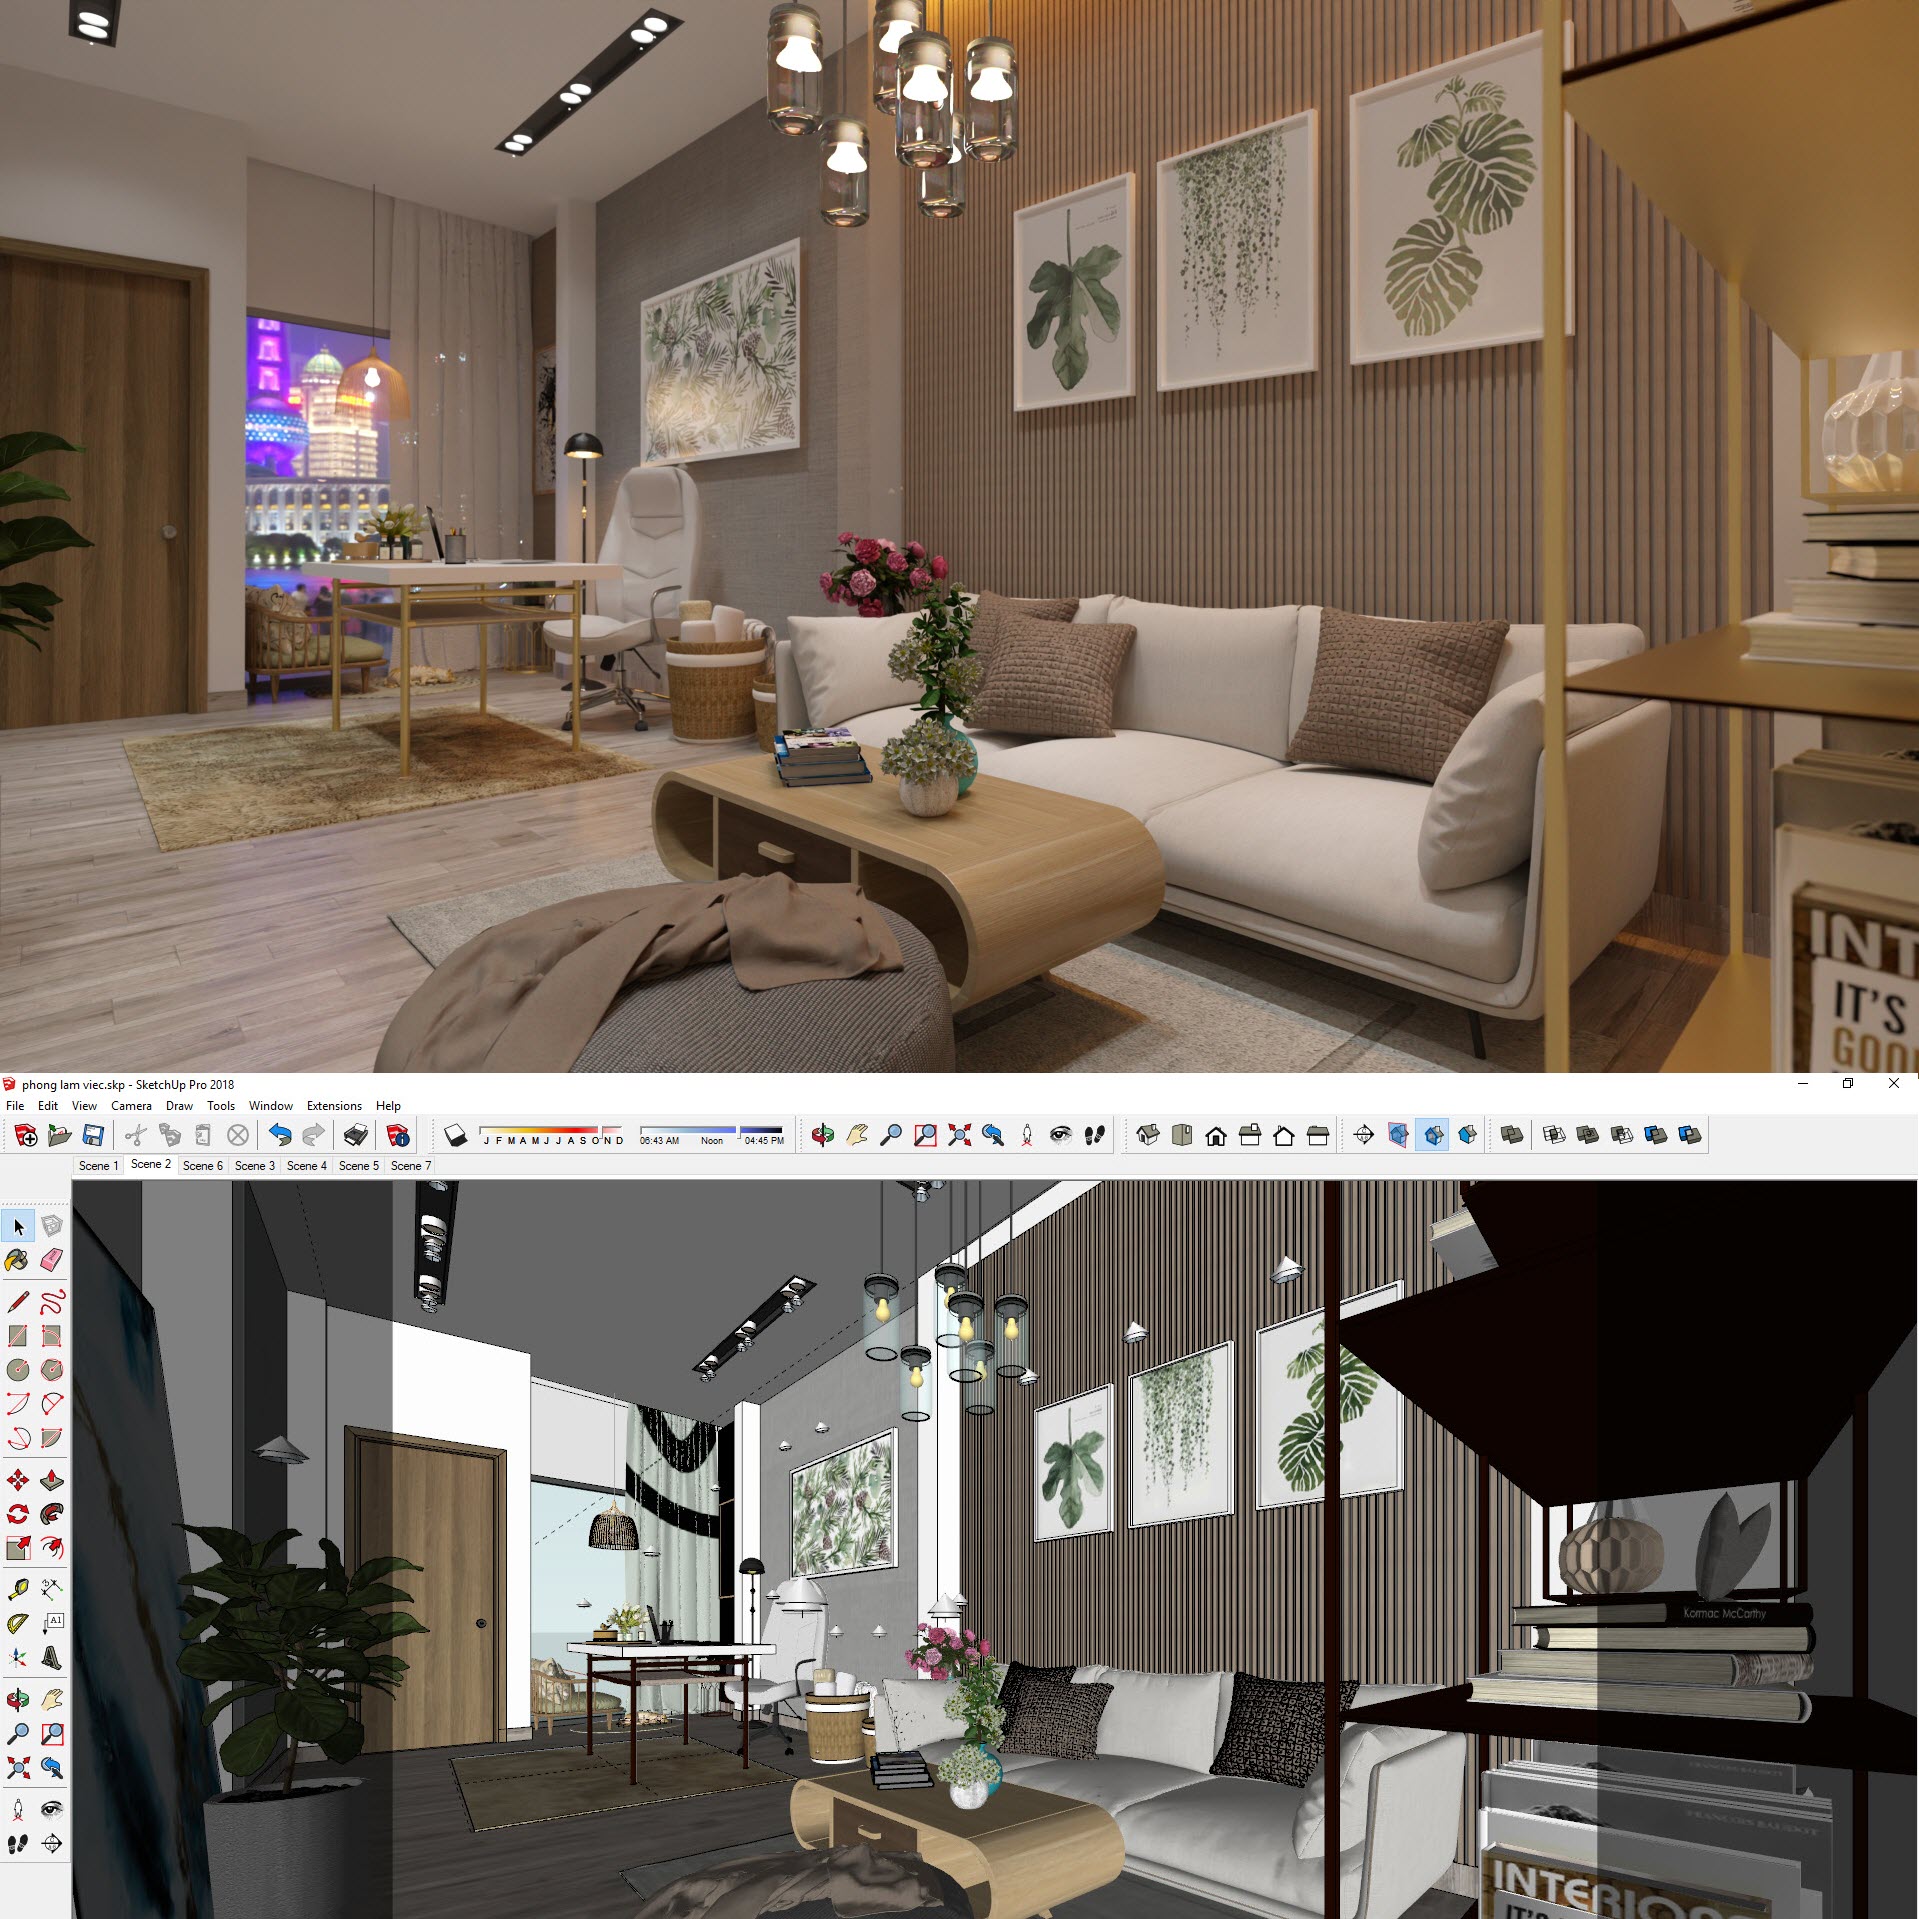
If you’re an interior designer, then you’ve probably heard of Sketchup. But what is it?
Sketchup is a 3D modeling program that allows you to create accurate models of physical objects. It’s often used by architects and engineers to create plans and drawings of buildings, but it can also be used for interior design rendering.
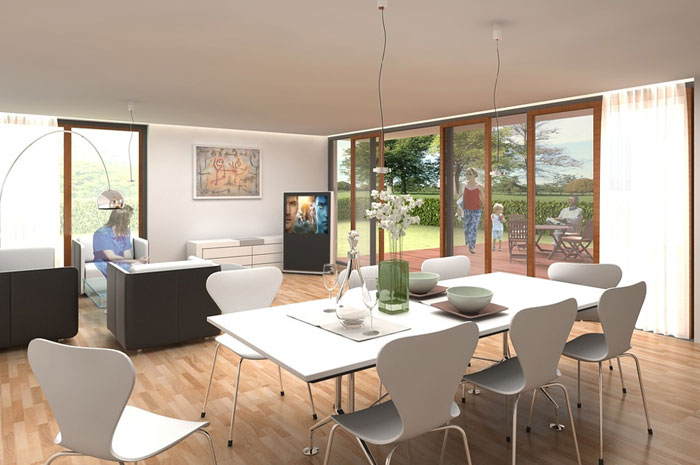
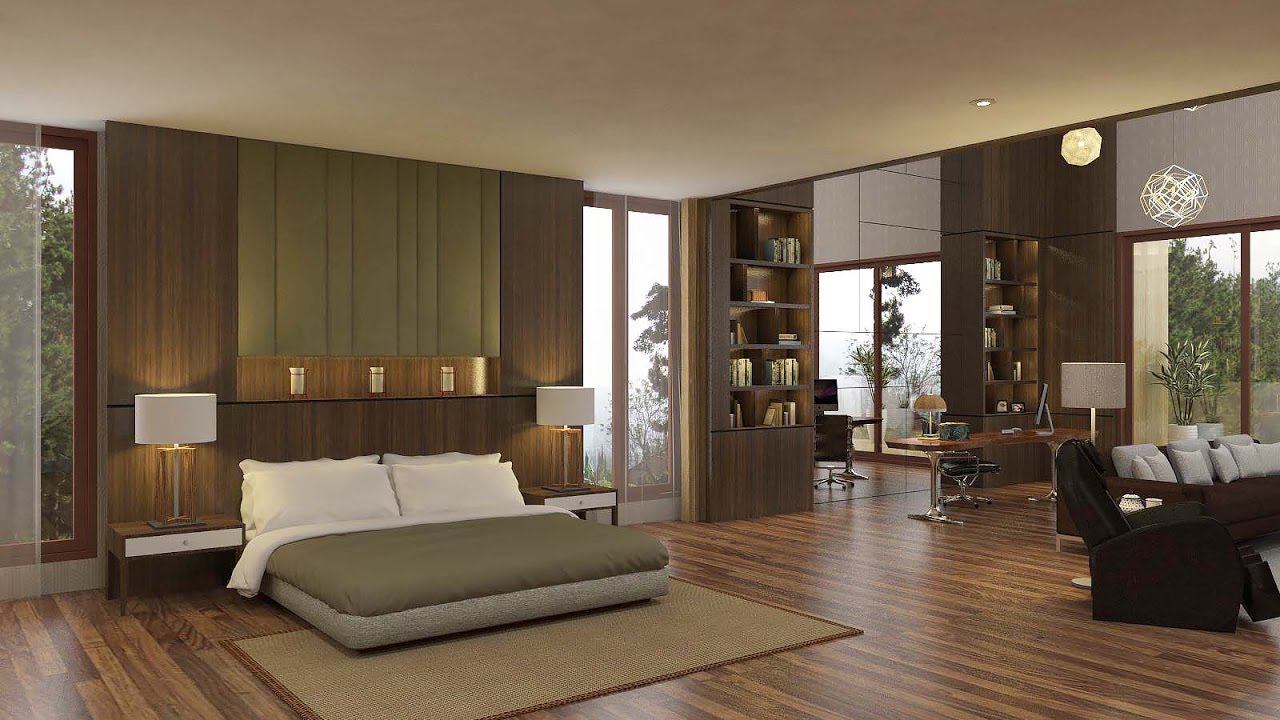
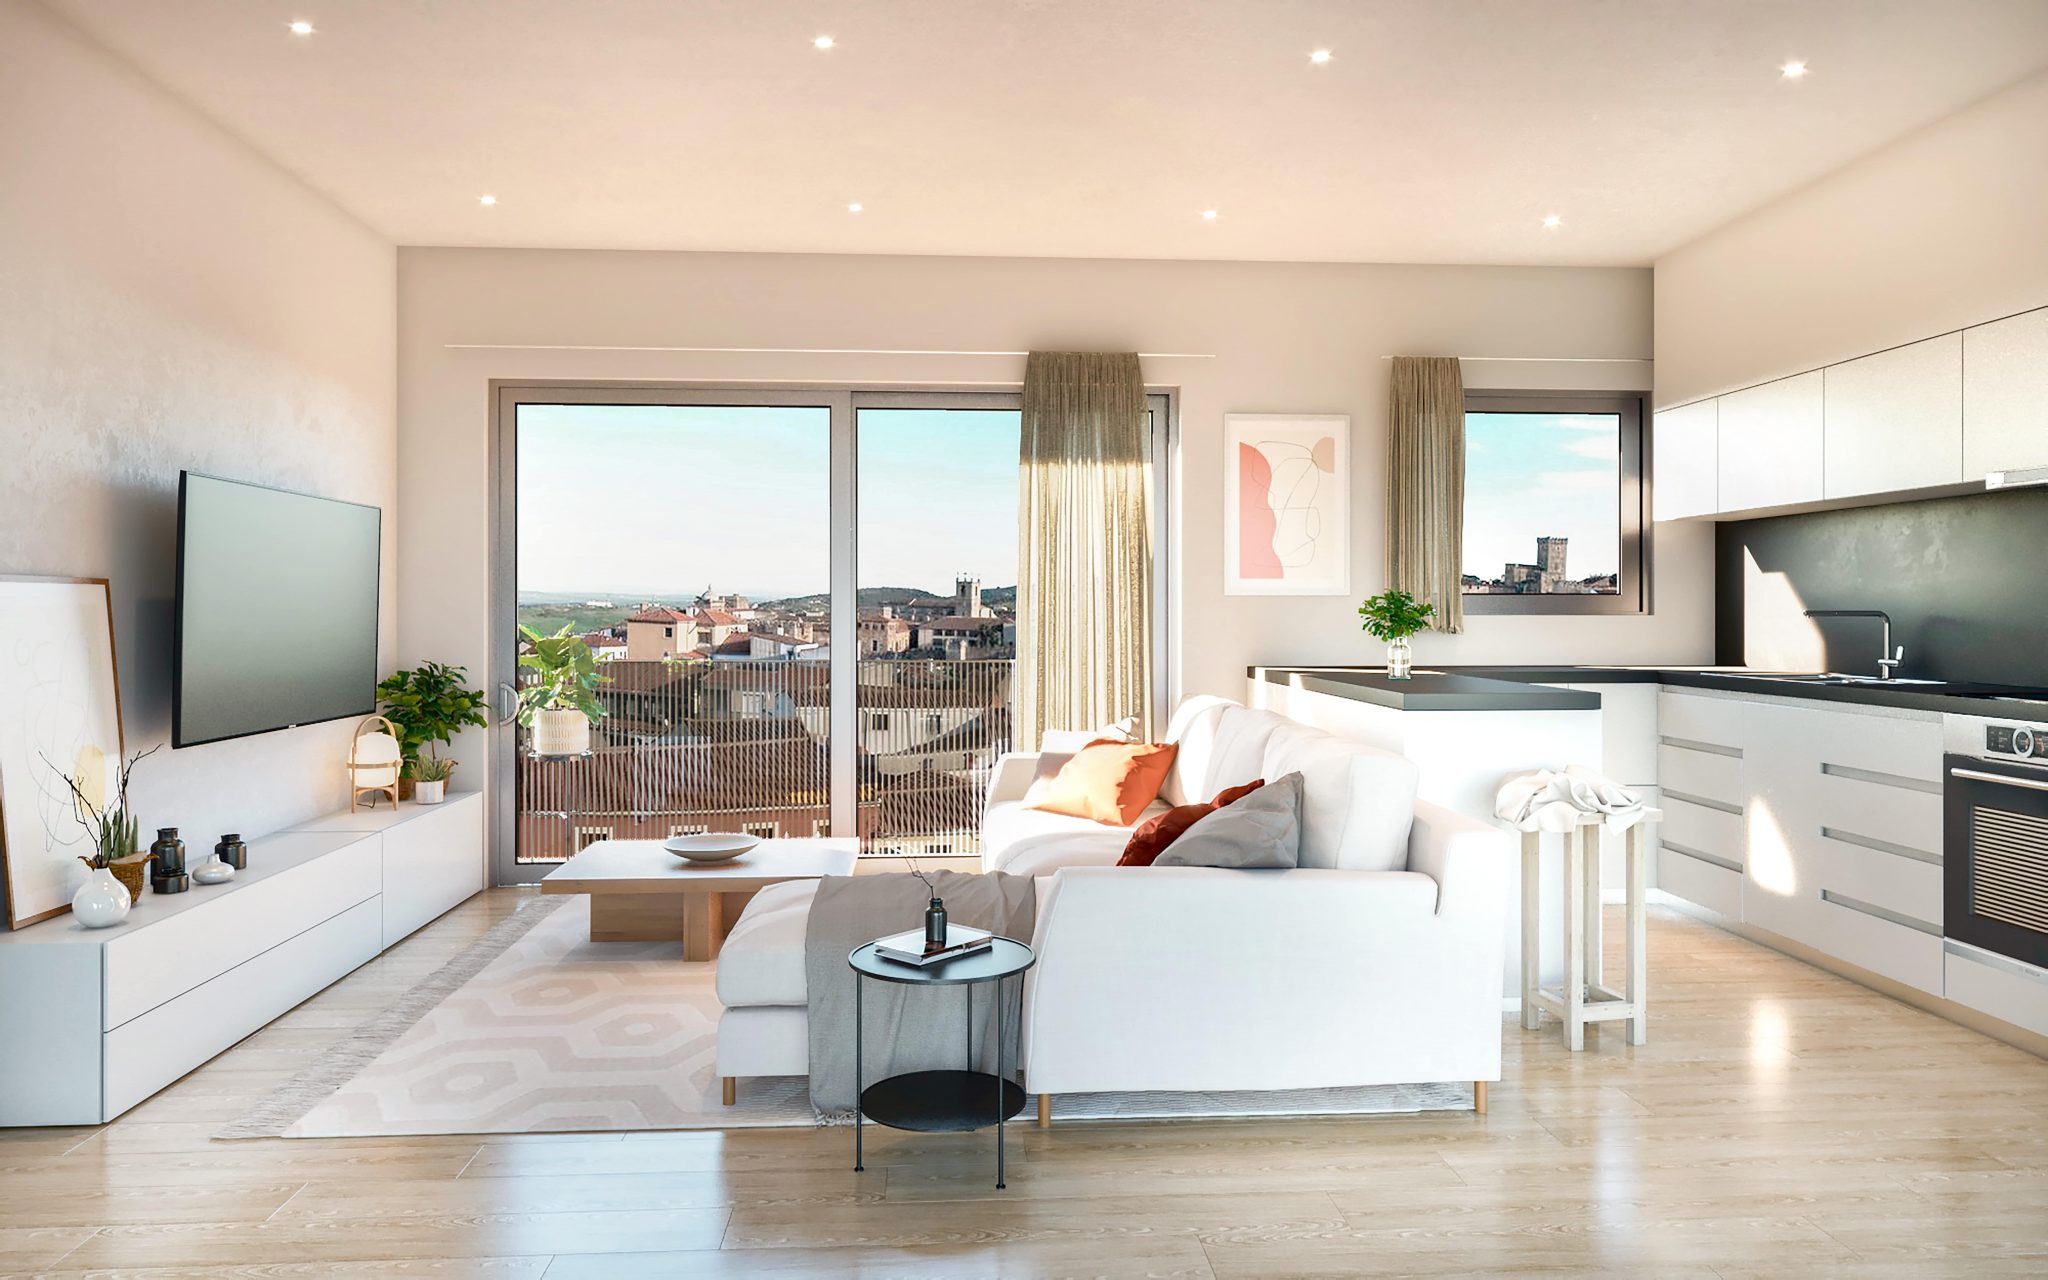
With Sketchup, you can create three-dimensional models of rooms, furniture, and decor. You can then add lighting and materials to those models to create realistic renderings. This can be a great way to visualize a space before any construction or changes are made.
If you’re not familiar with Sketchup, there’s no need to worry. It’s actually a very user-friendly program. There are plenty of tutorials and resources available online that can help you get started. And once you get the hang of it, you’ll be able to create stunning interior design renderings in no time!
The Different Types of Sketchup Rendering
There are different types of Sketchup rendering, each with its own advantages and disadvantages. The most common types of Sketchup rendering are:
- Ray tracing: This is the most realistic type of Sketchup rendering, as it uses actual light rays to create the image. However, it is also the slowest and most resource-intensive type of rendering.
- Radiosity: This type of Sketchup rendering uses pre-calculated light information to create the image, which makes it faster than ray tracing. However, it is not as realistic as ray tracing.
- Global illumination: This type of Sketchup rendering combines both ray tracing and radiosity to create an image that is both realistic and fast to render.
- Ambient occlusion: This is a special effects setting that can be used in conjunction with any of the other types of Sketchup rendering to add shadows and depth to the scene.

Pros and Cons of Sketchup Rendering
When it comes to Sketchup rendering for interior design, there are both pros and cons that need to be considered. On the pro side, Sketchup can be a very helpful tool for quickly creating 3D models of rooms and furniture. This can be extremely helpful when trying to visualize how a space will look before any construction or changes are made. Additionally, Sketchup rendering can help you experiment with different design ideas without having to commit to anything permanently.
On the con side, some people find Sketchup’s interface to be confusing and difficult to use. Additionally, the renderings produced by Sketchup can sometimes look “flat” or unrealistic. If you’re looking for photo-realistic renderings, you may want to consider another software option.
What are the benefits of Sketchup interior design rendering?
Interior design rendering is the process of creating a two-dimensional or three-dimensional representation of a proposed interior space. The benefits of sketchup interior design rendering include:
- Allowing the client to see what the space will look like before it is built
- Helping to communicate the designer’s vision to the construction team
- Facilitating the selection of finishes and fixtures
- Identifying potential problems with the layout before construction begins
- Saving time and money by avoiding costly changes during construction
How to get started with Sketchup interior design rendering?
If you’re new to Sketchup, or 3D rendering in general, then getting started with Sketchup interior design rendering can seem like a daunting task. However, it’s actually not that difficult once you get the hang of it. In this article, we’ll walk you through the basics of Sketchup interior design rendering, so you can start creating your own stunning designs.
The first thing you’ll need to do is download and install Sketchup. Once it’s installed, open up the program and familiarize yourself with the interface. Then, create a new file by going to File > New.
Next, you’ll need to find some reference images to help you model your scene. You can either search for them online or import them from your own personal collection. Once you have your reference images, it’s time to start modeling!
Begin by drawing out the basic shapes of your room using Sketchup’s tools. Remember to keep things to scale so everything looks realistic. Once you’re happy with your overall layout, start adding in furniture, decor, and other details.
When you’re finished modeling your scene, it’s time to add some color and lighting. You can do this by creating materials and applying them to surfaces within Sketchup. For lighting, we recommend using the Sunlight tool which allows you to control the direction and intensity of light in your scene.
Sketchup interior design rendering tutorials
Whether you’re a SketchUp newbie or a seasoned pro, there’s always something new to learn about this powerful 3D modeling program. And when it comes to interior design, SketchUp is second to none.
In this post, we’ll share some of our favorite SketchUp interior design rendering tutorials. These tutorials will teach you how to create stunning 3D renders of your designs, so you can visualize what your space will look like before you build it.
- Getting Started with Interior Design in SketchUp
This tutorial from the SketchUp team is the perfect place to start if you’re new to using SketchUp for interior design. It covers the basics of setting up your file, adding furniture and objects, and creating materials.
- Create Photorealistic Renderings with V-Ray for SketchUp
If you want to take your SketchUp renders to the next level, check out this tutorial from Chaos Group. It shows you how to use V-Ray for Sketchup to create photorealistic images of your designs.
- Softening Shadows in Interior Renders
One problem that often arises in interior renders is hard shadows. This tutorial from The Arch Viz Company shows you how to use light sources and soft shadow settings in V-Ray to create more realistic shadows in your scene.
- Adding People to Your Renders
People are an important element in any interior design render, but they can be tricky
Conclusion
Sketchup Interior Design Rendering is a great way to add value to your home. By taking the time to learn how to use Sketchup, you can easily create 3D models of your rooms that can be used for interior design purposes. Not only will this give you a better understanding of how your rooms will look once they are finished, but it will also allow you to make changes and adjustments before the work begins. If you are thinking about having any type of renovation work done on your home, Sketchup Interior Design Rendering is a valuable tool that you should definitely consider using.