Rendering interior design photoshoots can be a great way to add depth and realism to your images. However, it can also be time-consuming and challenging to get the perfect results. In this article, we will explore some tips and tricks for rendering interior design photoshoots in Photoshop. From choosing the right settings to creating realistic shadows and light, we will help you take your images to the next level.
What is photoshop rendering?
Rendering is the creation of a 2D or 3D image based on a model by means of computer software. Renderings are used in a variety of fields to communicate concepts visually. Typically, renderings are created by taking a 3D model and “rendering” it into an image using specialised computer software.

Photoshop rendering is the process of creating a 2D or 3D image from a Photoshop file. This can be done either by using the built-in rendering tools in Photoshop, or by exporting the file to another piece of software such as 3ds Max or Maya and using that software to render the image.
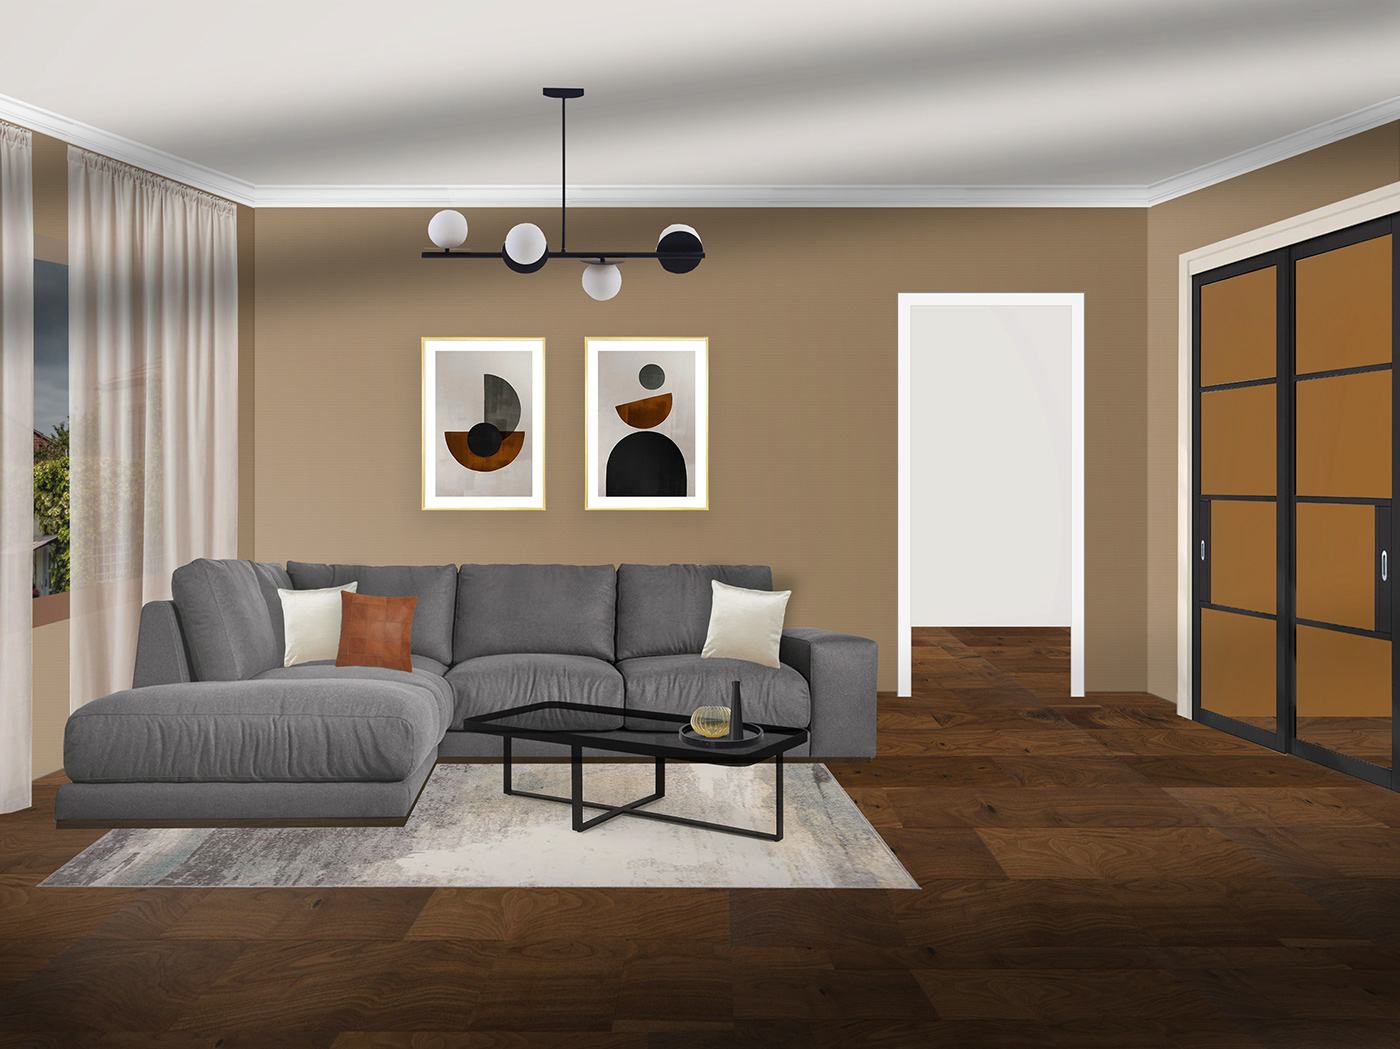
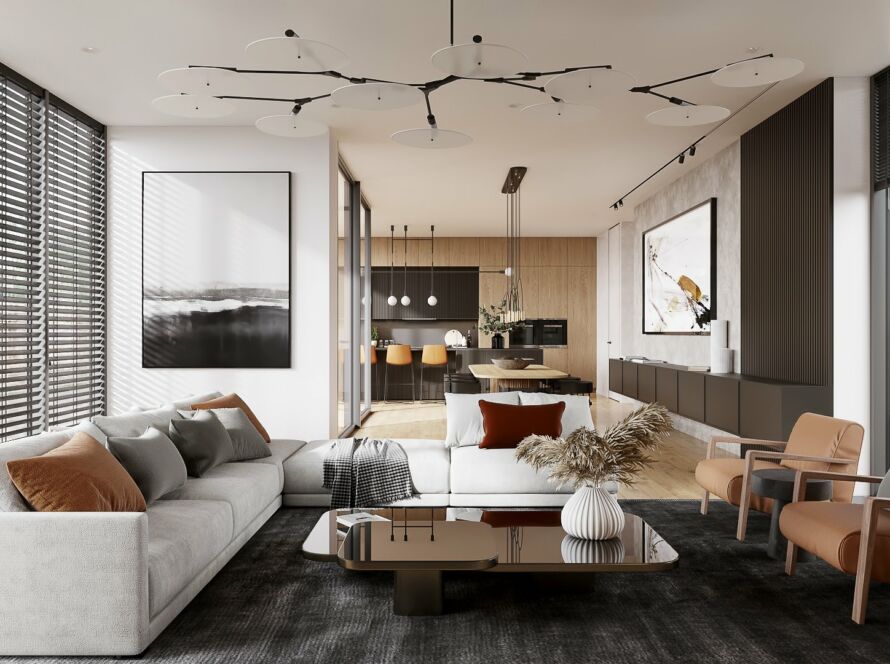
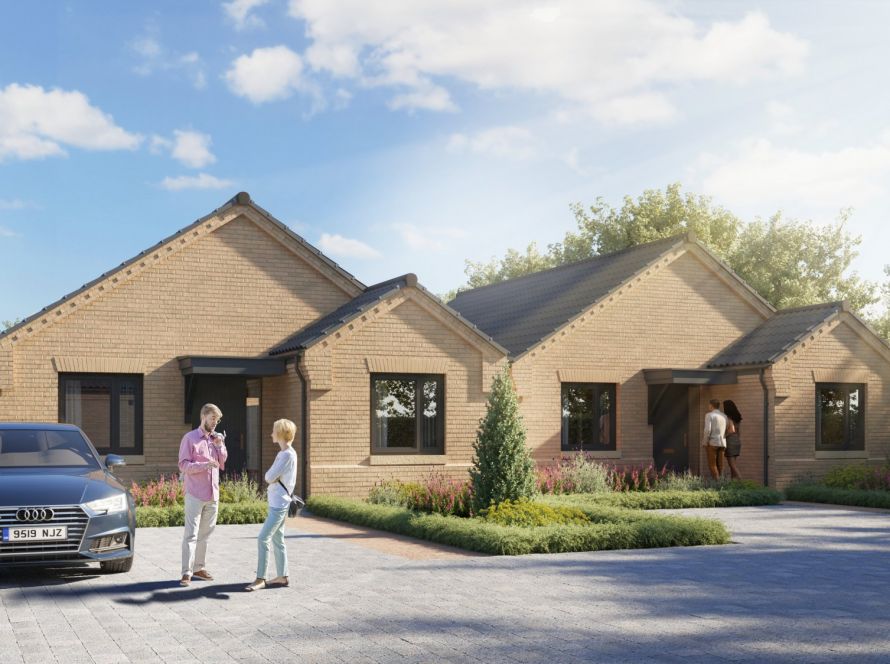
There are many reasons why you might want to create a Photoshop rendering. Perhaps you’re an interior designer and you want to create a realistic mock-up of a room you’re designing, so that your client can get an idea of what it will look like. Or maybe you’re an architect and you want to create a visualisation of a building you’re designing, so that potential investors can see what it will look like once it’s built. Whatever your reason for wanting to create a Photoshop rendering, there are some things you need to keep in mind in order to get the best results.
The first thing to consider is what resolution you want your final image to be. This will determine the size of the file you need to create, and therefore how long it will take to render the image. If you’re creating an image for
The benefits of photoshop rendering
There are many benefits to photoshop rendering when it comes to interior design. Perhaps the most obvious benefit is that it allows you to see what the finished product will look like before any work has begun. This can be extremely helpful in terms of making sure that the overall design is what you had envisioned.
Another great benefit of photoshop rendering is that it allows you to make changes to the design without having to start from scratch. If you change your mind about something or decide that something isn’t working, you can simply adjust the render accordingly. This can save a lot of time and frustration in the long run.

Finally, photoshop rendering can help you to create a more realistic representation of your design. This is especially useful if you are working with complex patterns or colors. By seeing how these elements will look in real life, you can make any necessary adjustments before moving forward with the project.
How to create a photoshop rendering?
If you’re an interior designer, chances are you’ve considered creating a photoshop rendering of one of your designs. Here’s a step-by-step guide to help you create a photoshop rendering that looks just like the real thing:
- Start by finding a high-resolution photo of the room you want to render. The higher the resolution, the better your final product will look.
- Next, open up Photoshop and create a new document that’s the same size as your photo.
- Now, using the Clone Stamp tool, start cloning elements from the photo into your new document. Be sure to pay attention to details like furniture, flooring, and window treatments.
- Once you’ve cloned everything over, it’s time to add your own personal touches! Use the paintbrush tool to add accent colors or patterns, and don’t forget to add lighting fixtures.
- Finally, save your file as a high-resolution image so you can print it out or share it online!
Tips for creating a realistic photoshop rendering
When it comes to creating a realistic Photoshop rendering of an interior design, there are a few key tips to keep in mind. First, pay attention to the lighting. Make sure that the light sources in your scene are believable and cast appropriate shadows. Secondly, focus on the details. Include small elements like door handles, light fixtures, and furniture hardware to make your design seem more complete. Finally, think about the overall composition of your image and use perspective guidelines to create a realistic sense of depth. By following these simple tips, you can create stunningly realistic Photoshop renderings of any interior space!
Conclusion
If you’re looking for a way to create stunning interior design renders, Photoshop is a great option. With the right techniques, you can create photorealistic images that will wow your clients. In this article, we’ve shared some of our best tips for rendering interior designs in Photoshop. We hope you’ll find them helpful and that they’ll help you create beautiful renders that your clients will love.


