In this tutorial, we will be learning how to create a 3D rendering of an object in Photoshop. This effect can be used to create product images, illustrations, and even website headers. 3D renderings are created by combining multiple 2D images into a single image. By doing this, we can create the illusion of depth and dimension. In Photoshop, there are a number of ways to create 3D renderings. We will be exploring one method that makes use of the Repousse tool.
What is 3D rendering?
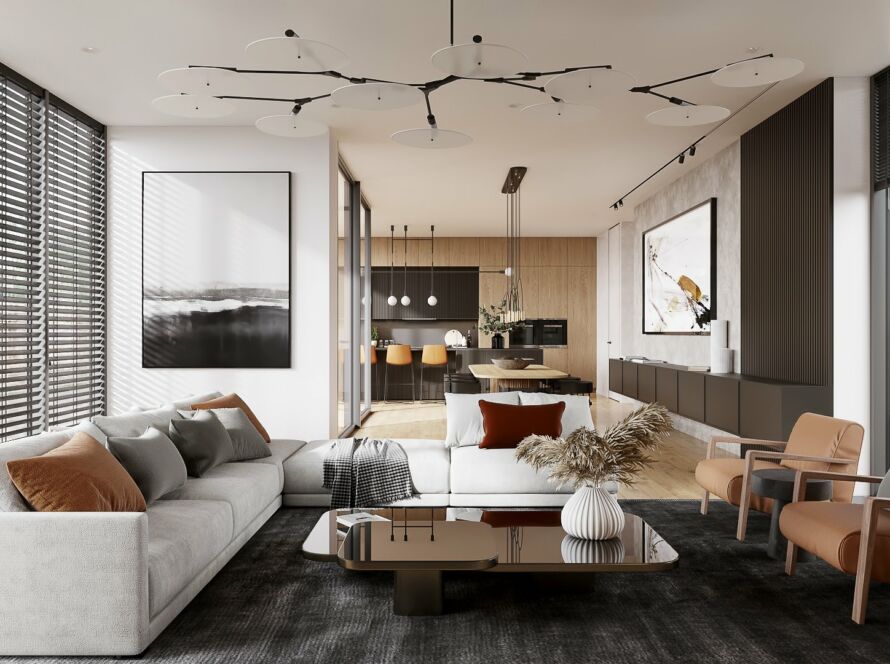
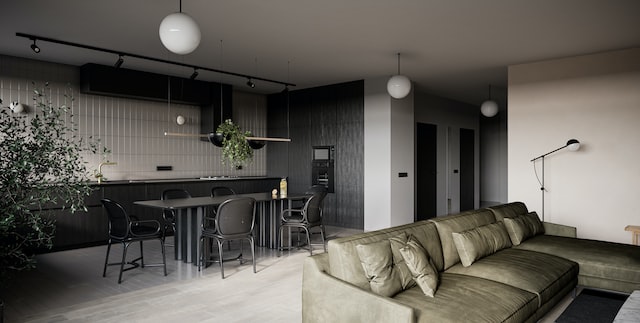
3D rendering is the process of creating a visual representation of a 3D model using computer software. It is used to create photorealistic images or animations of a design, which can be used for a variety of purposes such as architectural visualization, product design, advertising, and more.
The process of 3D rendering involves several steps, including creating a 3D model of the object or scene, applying materials and textures to the model, adjusting lighting and camera angles, and then using specialized software to calculate and produce the final image or animation. The software calculates how light interacts with the 3D model and simulates the way it would look in the real world. The result is a highly detailed and realistic image that can be used for a variety of purposes.
There are different types of 3D rendering techniques, such as real-time rendering, pre-rendering, and ray tracing. Real-time rendering is used to create interactive 3D environments, such as video games. Pre-rendering is used to create high-quality images and animations and it is done before the final image is shown to the user. Ray tracing is a technique that simulates the behavior of light in a highly accurate way which leads to photo-realistic results.
Overall, 3D rendering is an essential tool for architects, designers, and other professionals in the design and visualization industry, as it allows them to create highly detailed and realistic images of their designs, helping them to communicate their ideas effectively and make informed decisions.
What are the benefits of 3D rendering?
There are several benefits of using 3D rendering in design and visualization, including:
- Improved communication: 3D rendering allows architects, designers, and other professionals to create highly detailed and realistic images of their designs, which can be used to effectively communicate ideas to clients and other stakeholders. It enables them to showcase the space in the most accurate and realistic way possible.
- Identifying design flaws: 3D rendering can help to identify potential design flaws or issues before construction begins. This can save time and money by catching mistakes early on in the design process.
- Cost and time-saving: 3D rendering can save time and money by reducing the need for physical models or mock-ups. It also allows designers to experiment with different design options and make changes quickly and easily, without the need for costly revisions to physical models.
- Realistic visualization: 3D rendering can provide a realistic visualization of the final product, allowing clients and other stakeholders to get a better sense of what the finished space will look like. This can help to ensure that the design meets the needs and expectations of all stakeholders.
- Marketing and promotion: 3D rendering can be used for marketing and promotion, creating images and videos that can be used on websites, social media, and other promotional materials. This can help to attract more customers and create more interest in the project.
- Increased productivity: 3D rendering can increase productivity by allowing designers and architects to work more efficiently and make informed decisions faster.
- Flexibility: 3D rendering allows for flexibility in the design process, enabling designers to make changes and adjustments easily and quickly. It also allows for the creation of different scenarios and lighting conditions to showcase the design in the best way possible.
- Better collaboration: 3D rendering enables better collaboration between different stakeholders, including architects, designers, builders, and clients, as it allows for clear and effective communication of design concepts and ideas.
What software is needed to create a 3D rendering?
Creating a 3D rendering requires the use of specialized software that is designed specifically for 3D modeling and rendering. There are many different options available, each with its own unique set of features and capabilities. Some of the most popular 3D modeling and rendering software programs include Autodesk 3ds Max, Maya, Cinema 4D, Blender, SketchUp, and Rhino.
Autodesk 3ds Max is a widely used program that is known for its advanced animation and rendering capabilities. It is commonly used in the film, television, and video game industries. Maya, also developed by Autodesk, is another popular choice that is known for its powerful modeling and animation tools.
Cinema 4D is another popular option that is particularly well-suited for motion graphics and visual effects. Blender is a free and open-source software that is popular among hobbyists and independent filmmakers. SketchUp is a simpler and more user-friendly option that is often used for architectural and interior design projects. Rhino is another popular choice that is known for its precision and accuracy in creating 3D models.
All of these software are typically quite resource-intensive and will require a powerful computer with a dedicated graphics card to run efficiently. They also require a certain level of skill and experience to use effectively. However, with the right software and proper training, you can create highly detailed and realistic 3D renderings of almost any object or scene.
How to create a 3D rendering in Photoshop?
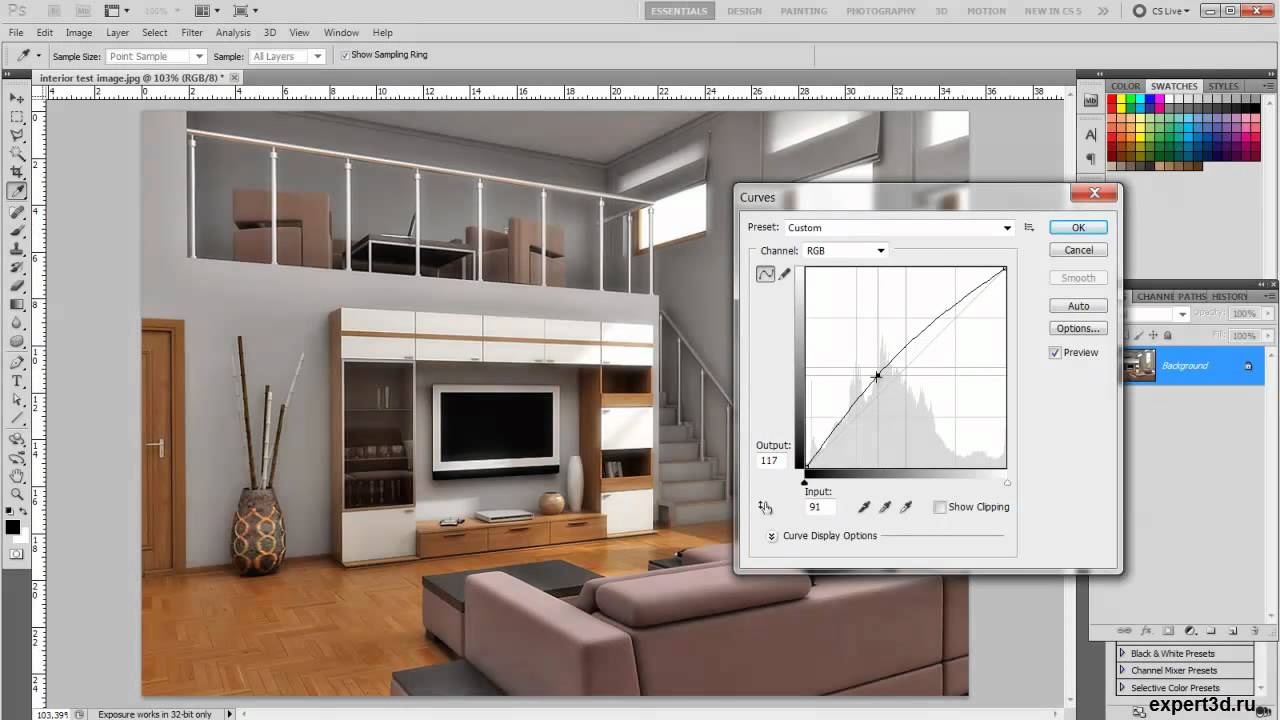
Creating a 3D rendering in Photoshop requires the use of the 3D tools and features that are built into the software. Here is a general overview of the process:
- First, you will need to create a 3D model of the object or scene that you want to render. This can be done by using a 3D modeling software or by importing a pre-made 3D model into Photoshop.
- Next, open your 3D model in Photoshop and select the 3D layer in the Layers panel.
- Select the 3D camera tool and use it to adjust the camera angle and position to get the desired view of your object or scene.
- In the 3D panel, you can adjust various settings such as lighting, materials, and texture to achieve the desired look and feel of your rendering.
- Once you are satisfied with the settings, you can use the Render button in the 3D panel to create your 3D rendering. This will create a new layer with the rendered image.
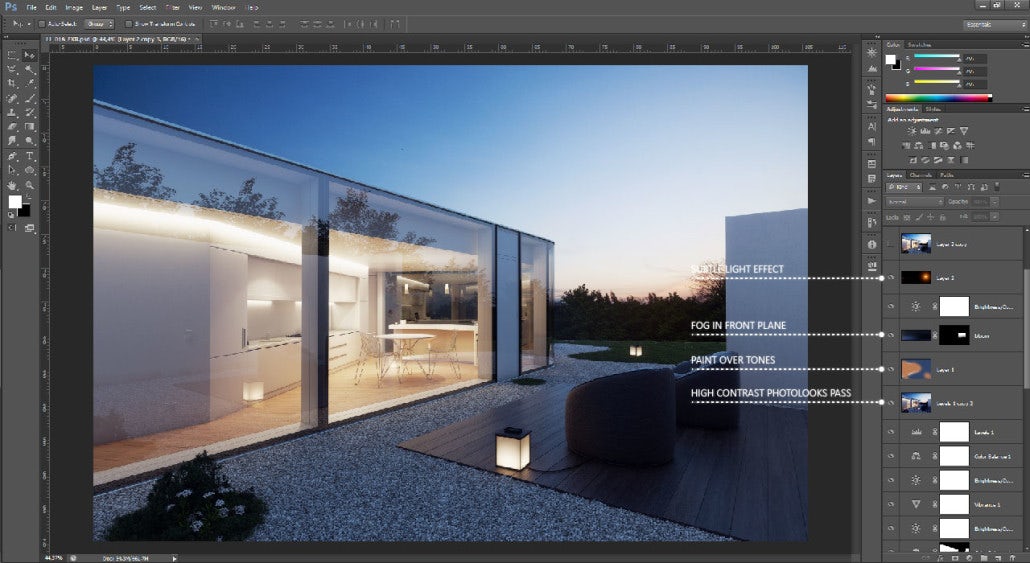
- You can then use the editing tools in Photoshop to make any final adjustments to your rendering, such as color correction, and saving the final output.
Keep in mind that Photoshop’s 3D capabilities are not as advanced as dedicated 3D software, it’s better suited for simple and small projects, and for post-processing of 3D renders generated by other software.
Tips for creating a realistic 3D rendering
Here are some tips for creating a realistic 3D rendering:
- Use high-quality textures and materials: Using detailed and high-resolution textures and materials can greatly enhance the realism of your rendering.
- Pay attention to lighting: Lighting is one of the most important factors in creating a realistic 3D rendering. Use multiple light sources and play with the intensity, color, and position to achieve the desired effect.
- Use depth of field: By using depth of field, you can make certain parts of your rendering appear in focus while others are blurred, which can add a sense of realism and depth to your image.
- Add realistic shadows: Shadows can be used to give a sense of depth and realism to your rendering. Use different light sources to create realistic shadow patterns and pay attention to the direction and intensity of the shadows.
- Use appropriate camera settings: Camera settings such as field of view, focal length, and aperture can be used to create different perspectives and add a sense of realism to your rendering.
- Use a good reference: Use real-life photographs or videos as a reference to ensure that your rendering accurately represents the real world.
- Test render and adjust accordingly: It’s important to continually test render and adjust the settings and materials until you are happy with the final result.
- Use motion blur: Use motion blur to make your animation look more realistic and to give the sense of movement.
Remember, 3D rendering is an iterative process, and it may take some time to achieve the desired level of realism. With practice, you will become better at creating realistic 3D renderings.
Conclusion
I hope this tutorial on how to make a 3d rendering in photoshop was helpful for you. I know it can be a bit confusing at first, but with a little practice you’ll be able to create beautiful 3D renderings that will impress your friends and family. So don’t be discouraged if it takes you a few tries to get the hang of it, just keep at it and eventually you’ll get there.