Introduction
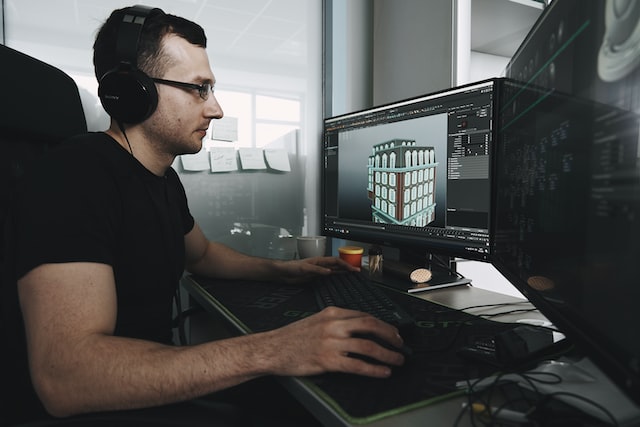
3ds Max is a powerful 3D modelling and rendering software used by architects, interior designers, and visual effects artists. It’s versatile enough to create anything from simple 3D models to complex animations and simulations. If you’re new to 3ds Max, or if you’re just looking to brush up on your skills, we’ve put together a list of tutorials specifically for interior rendering. These tutorials will cover everything from setting up your scene to adding materials and lighting, to final render settings.
What is 3ds max interior rendering?
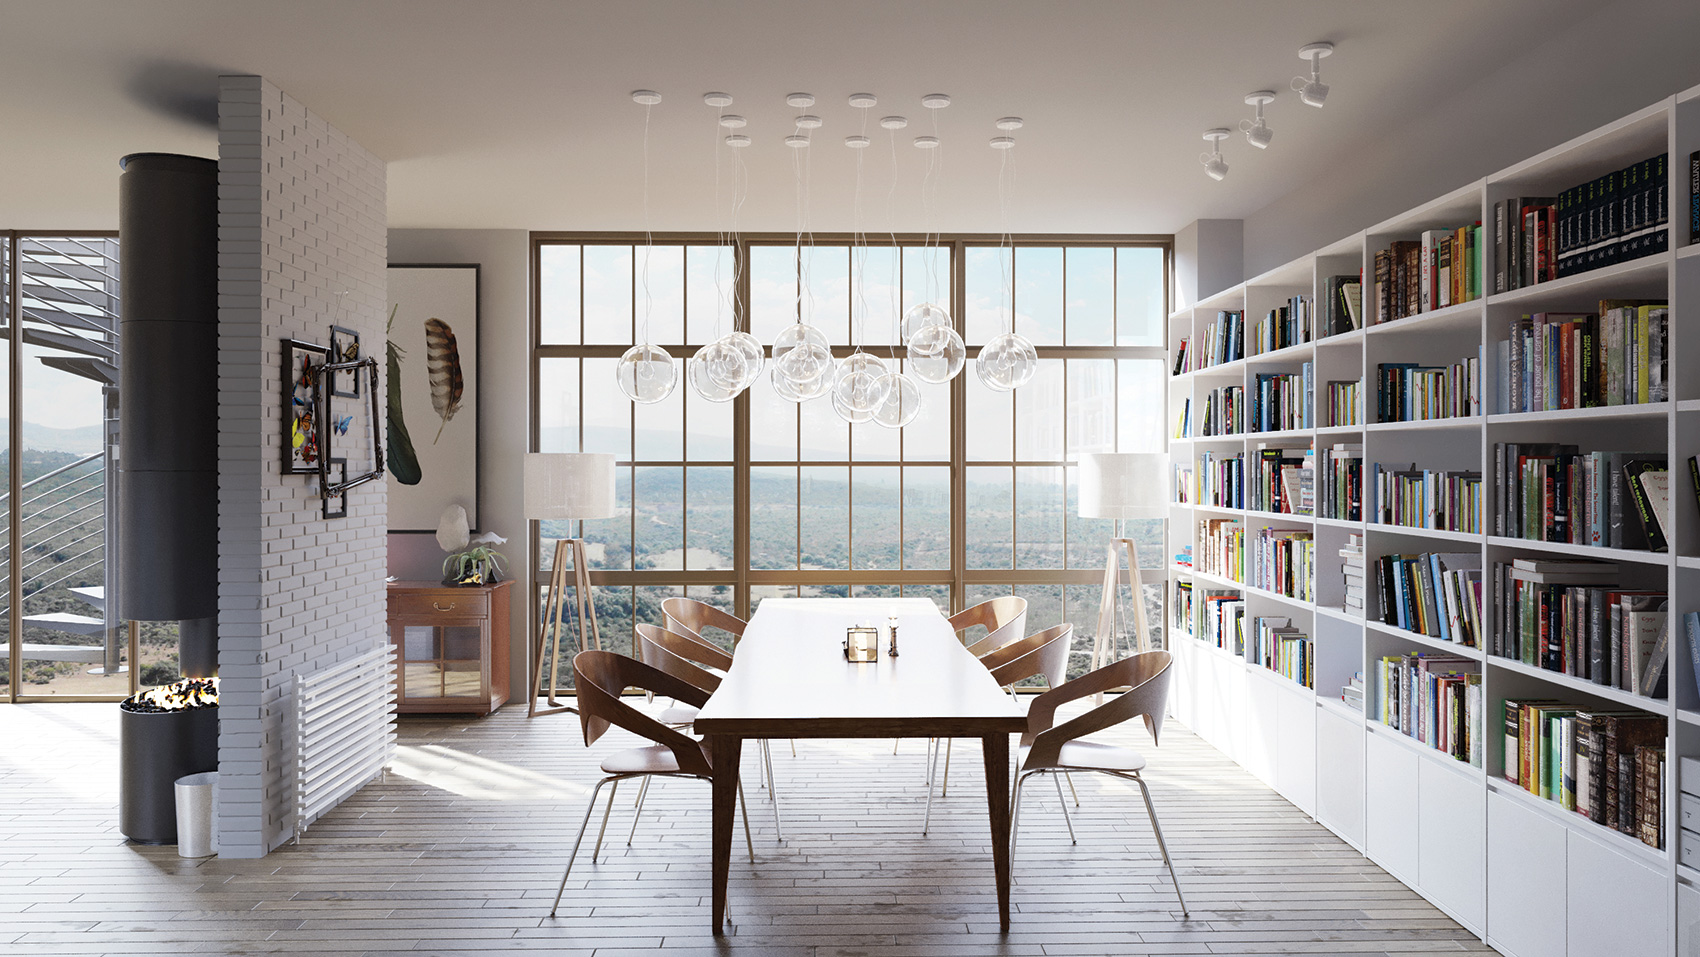
ds max interior rendering is a process that allows you to create high-quality images of interior spaces using 3ds Max software. This guide will walk you through the steps necessary to set up and render an interior space in 3ds Max.
3ds Max is a powerful software program that can be used to create high-quality images of interior spaces. In order to produce the best possible results, it is important to understand the basics of setting up and rendering an interior space in 3ds Max.
The first step is to create a model of the interior space that you wish to render. This can be done by either importing a pre-existing model or by creating one from scratch using the 3ds Max modelling tools. Once the model is complete, it is time to set up the lighting for the scene.
There are several different types of lights that can be used in 3ds Max, each of which has its own strengths and weaknesses. The type of light that you ultimately choose will depend on the specific needs of your scene.
Once the lighting has been set up, it is time to begin rendering the image. Depending on the complexity of your scene, this process can take anywhere from a few minutes to several hours. Once the render is complete, you will have a high-quality image of an interior space that can be used for any purpose.
The benefits of 3ds max interior rendering
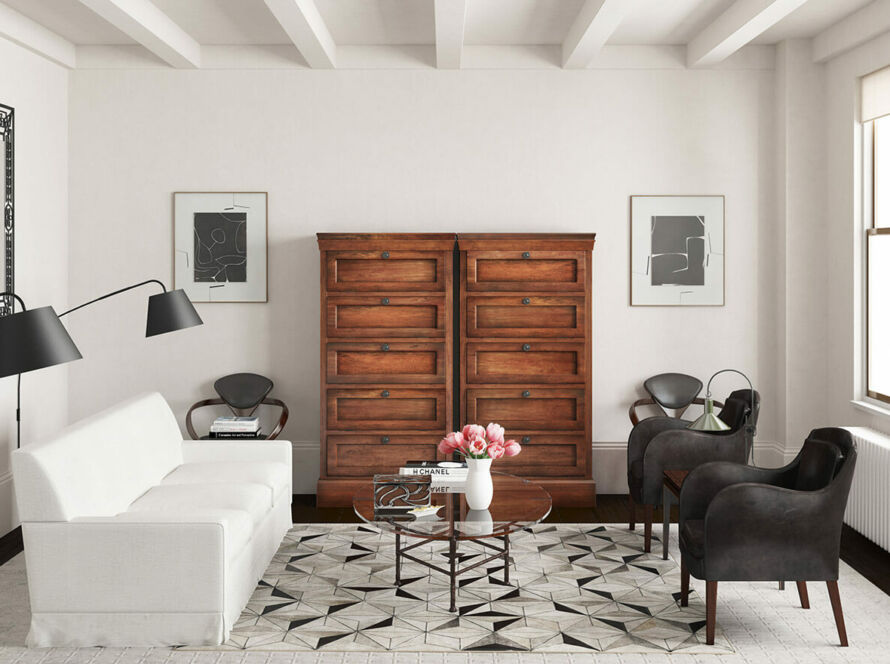
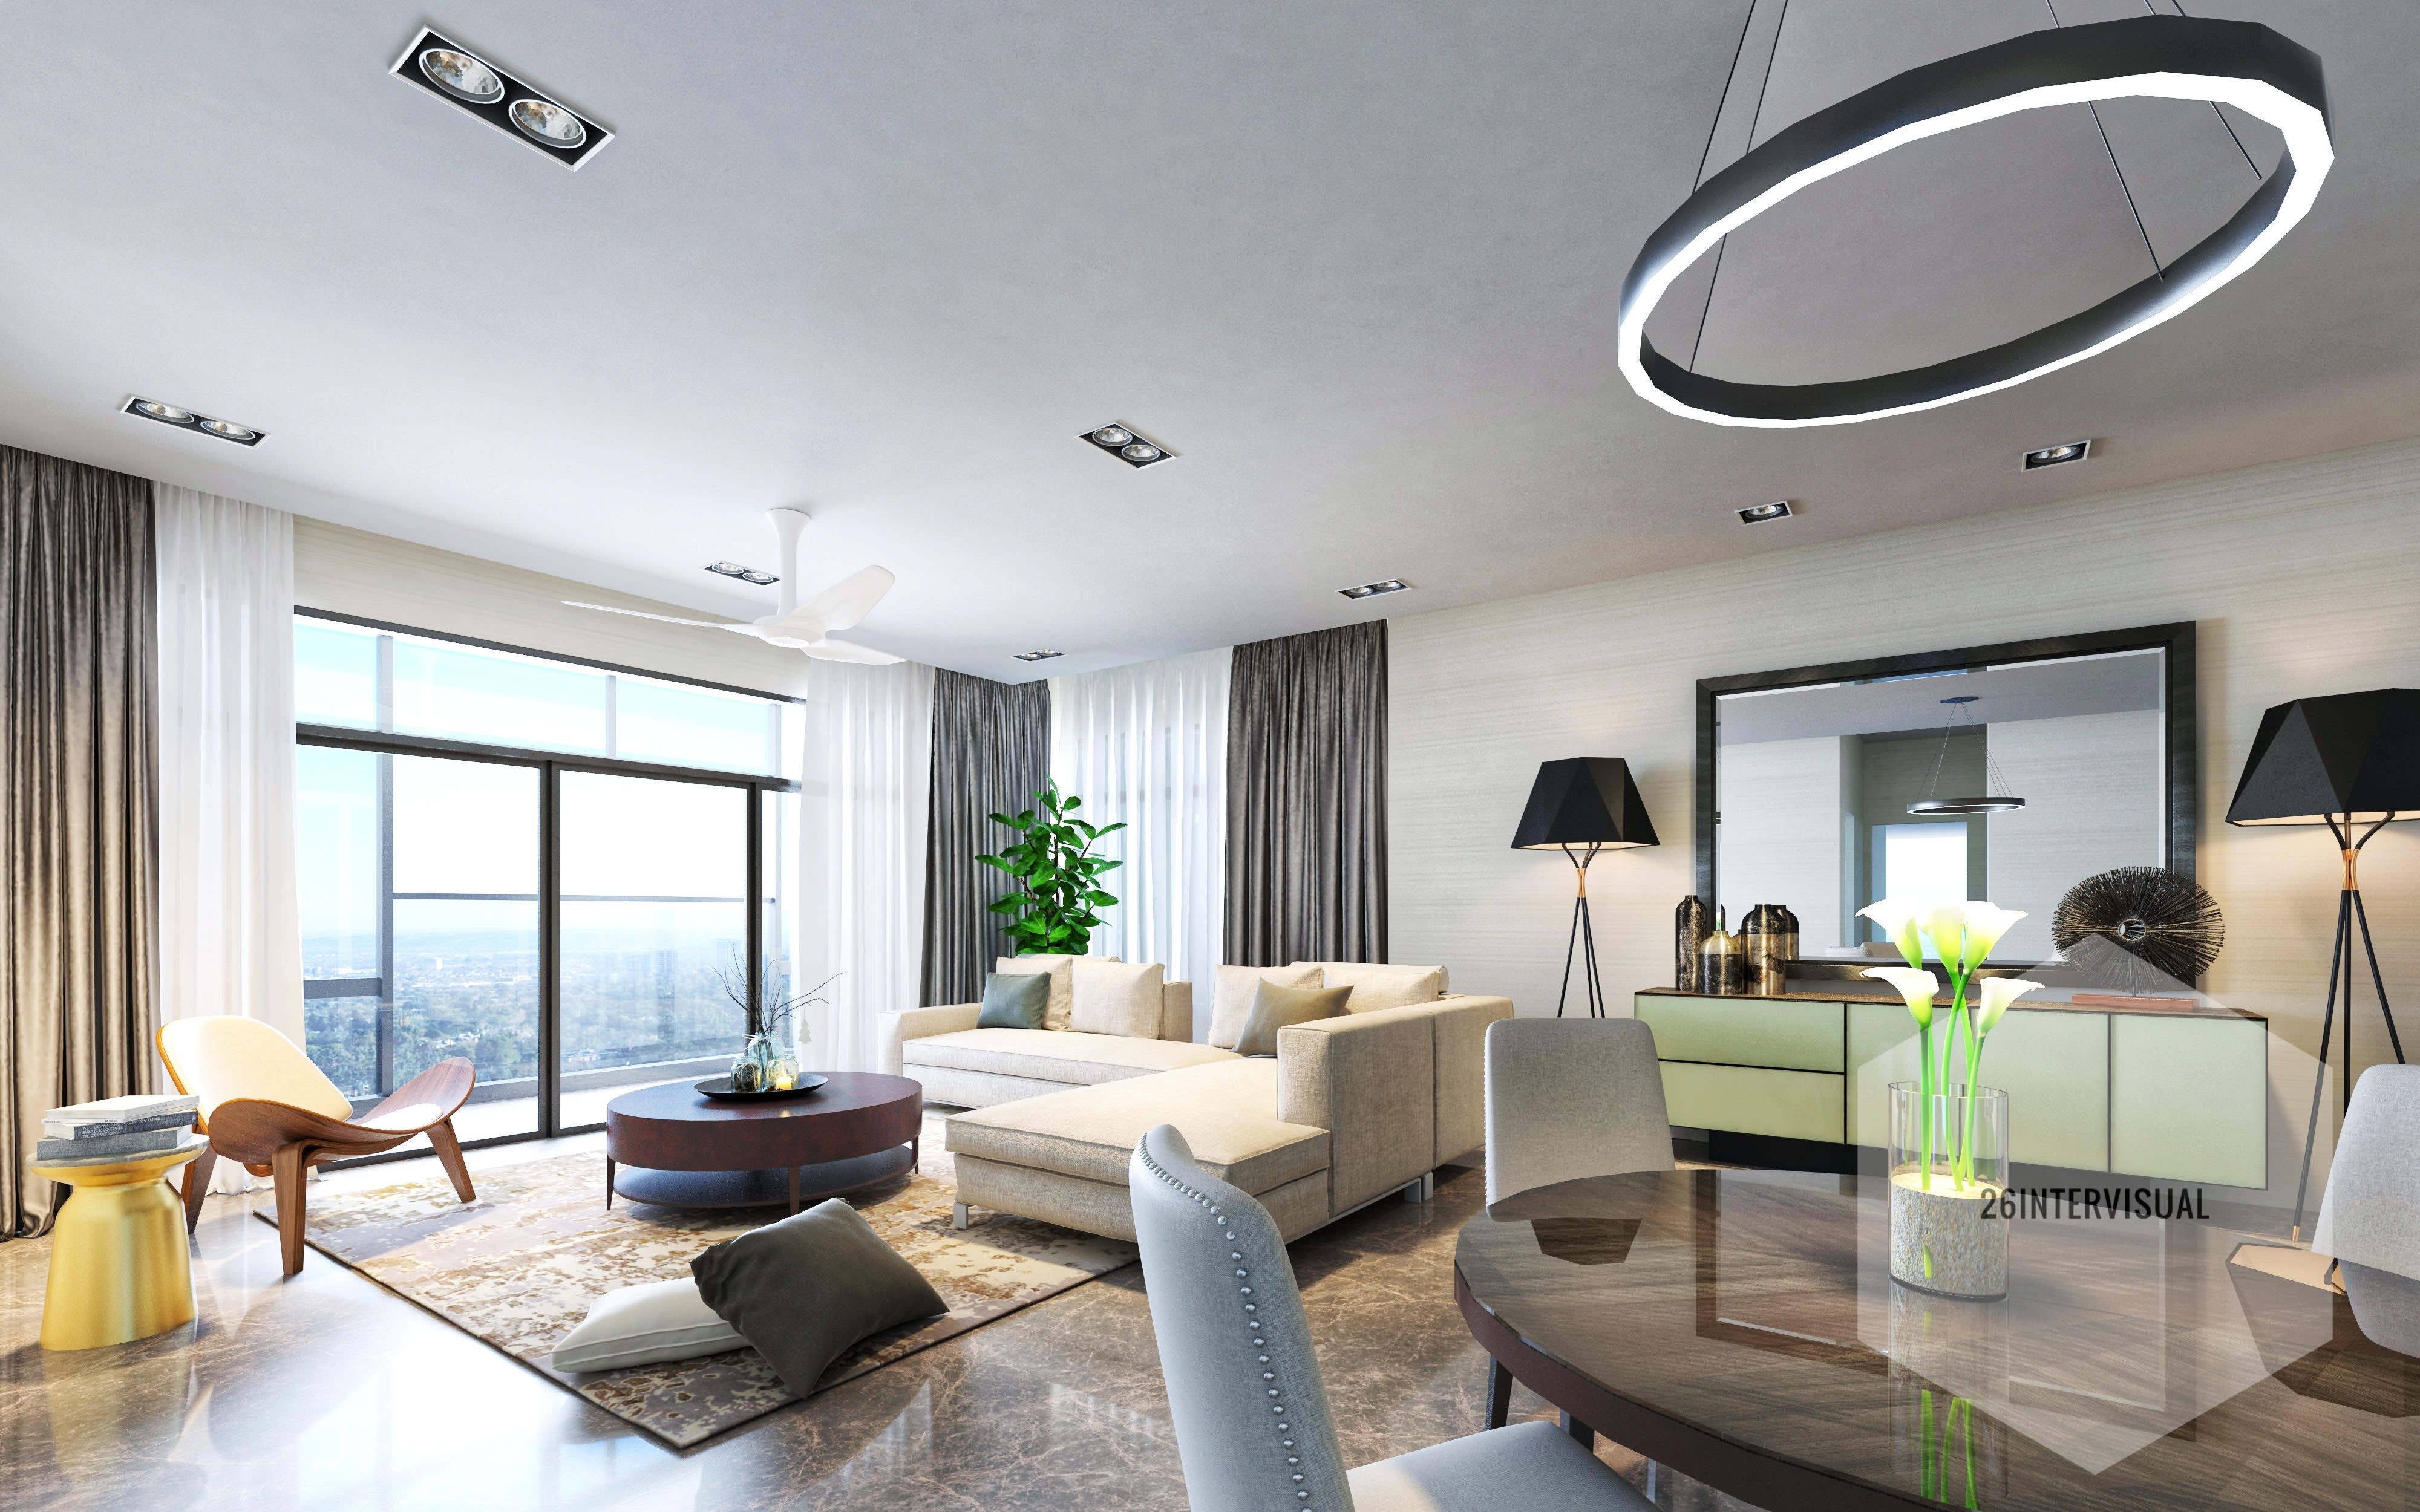
3ds Max is a powerful tool that allows you to create stunning interior renderings. Here are some of the benefits of using 3ds Max for your interior rendering needs:
- You can create photorealistic images.
- You can create highly detailed images.
- You can create images with complex lighting effects.
- You can add special effects to your images.
- You can render your images in real-time.
How to get started with 3ds max interior rendering
If you’re new to 3ds Max, interior rendering can be a great way to get started. In this tutorial, we’ll cover the basics of setting up your scene, lighting, and materials to create a realistic render of an interior space.
To get started, you’ll need a copy of 3ds Max and some basic knowledge of the software. If you’re not familiar with 3ds Max, we recommend checking out our beginner’s guide before starting this tutorial.
Once you have 3ds Max installed and open, you’ll need to create a new scene. To do this, go to File > New > Scene.
Next, you’ll need to add some geometry to your scene. This can be done by importing a model or creating primitives. For this tutorial, we’ll use a simple box primitive. To add a box primitive, go to Create > Geometry > Box.
With your box selected, go to the Modify tab and set the Length, Width, and Height values to 10 feet each. Then, click on the Create button.
You should now have a box in your scene that is 10 feet long, 10 feet wide, and 10 feet tall. Next, we’ll add some lighting to our scene.
Go to Create > Lights > Omni Light. This will create an omni light in your scene that emits light in all directions from its origin point. With your light selected, go to the Modify tab.
Tips for success with 3ds max interior rendering
- Start with a clean slate: before you start your 3ds max interior rendering, take some time to clear out any unwanted files or objects that may be cluttering up your scene. This will help keep your project organised and make it easier to focus on the task at hand.
- Set up your lights: proper lighting is key to any successful render, so take some time to set up your lights before you begin. Be sure to place them in strategic positions around your scene so that they evenly illuminate the space.
- Choose the right materials: carefully select the materials you’ll use for your renderings, as they can greatly affect the overall look of your scene. Make sure to pick materials that complement each other and fit the style of the space you’re trying to create.
- Pay attention to detail: small details can make a big difference in an interior rendering, so be sure to pay close attention to them as you work. Things like door handles, light fixtures, and window treatments can all have a significant impact on the final result, so don’t forget about them!
- Render multiple times: once you’re happy with your initial render, don’t be afraid to experiment with different settings and options until you get the perfect result. Rendering multiple times may seem like a lot of work, but it’s often worth it in order to get exactly what you want.
Conclusion
3ds max is a powerful software program that can be used to create stunning interior renderings. In this article, we’ve shared three tips to help you get started with rendering interiors in 3ds max. With these tips, you’ll be able to create beautiful renderings that capture the imagination. So what are you waiting for? Get started today and see what you can create!